Table of Contents
The Magic Behind Perfect Cake Pops
There’s something utterly delightful about cake pops – those adorable, bite-sized treats that combine the best of cake and candy in one perfect little package. I still remember my first attempt at making these charming desserts for my niece’s birthday party. Let’s just say they looked more like abstract art than the neat, round pops I’d envisioned! The culprit? I didn’t understand the importance of using the right cake pop sticks.
Those little sticks might seem insignificant, but they’re actually the backbone of a successful cake pop. Without proper cake pop sticks, your delicious treats can droop, fall, or break at the most inopportune moments – like right before your guests arrive!
Today, I’m sharing everything I’ve learned about making picture-perfect cake pops that not only look stunning but taste incredible too. We’ll explore the best types of cake pop sticks, how to use them properly, and creative ways to display your finished treats. By the time you finish reading, you’ll be ready to create cake pops that would make any professional baker proud.
What You’ll Need: Cake Pop Essentials
Before diving into the mixing and dipping, let’s gather our supplies. The star of our show is, of course, the humble cake pop stick.
Choosing the Right Cake Pop Sticks
Not all sticks are created equal when it comes to making stick cake pops. Here’s what to look for:
- Length: 6-inch sticks are ideal for standard cake pops. They provide enough handle while maintaining proper balance.
- Material: Food-grade paper or lollipop sticks work best. Avoid wooden skewers or toothpicks, which can splinter.
- Thickness: Choose sticks that are sturdy enough to support your cake mixture without being too thick to insert easily.
I personally prefer the white paper cake pops sticks because they blend seamlessly with most designs and are strong enough to hold the weight of a properly made cake pop.
Other Essential Ingredients and Tools
Beyond the cake pop sticks, you’ll need:
- Your favorite cake recipe (or a box mix – no judgment here!)
- Frosting (homemade or store-bought)
- Candy melts or chocolate for coating
- Sprinkles, nuts, or other decorations
- A cake pop stand or styrofoam block for drying
- Mixing bowls and utensils
- Baking sheet lined with parchment paper
The Perfect Cake Pop Base Recipe
The foundation of amazing cake pops starts with the cake and frosting mixture. Let’s create a foolproof base that will hold its shape while remaining moist and delicious.
Baking the Cake
You can use any cake flavor you love for cake pops. My go-to is a simple vanilla cake because it pairs beautifully with various coatings and flavorings.
Ingredients:
- 1 ½ cups all-purpose flour
- 1 cup granulated sugar
- 1 ½ teaspoons baking powder
- ½ teaspoon salt
- ½ cup unsalted butter, softened
- 2 large eggs, at room temperature
- 2 teaspoons vanilla extract
- ½ cup milk
Instructions:
- Preheat your oven to 350°F (175°C) and grease an 8-inch cake pan.
- In a medium bowl, whisk together flour, baking powder, and salt.
- In a large bowl, cream together butter and sugar until light and fluffy.
- Add eggs one at a time, mixing well after each addition. Stir in vanilla.
- Gradually add the dry ingredients to the wet ingredients, alternating with milk.
- Pour batter into the prepared pan and bake for 25-30 minutes, or until a toothpick inserted in the center comes out clean.
- Let cool completely before making cake pops.
Creating the Perfect Cake Pop Mixture
Once your cake has cooled completely, it’s time to transform it into the perfect cake pop base:
- Crumble the cooled cake into fine crumbs in a large bowl. I like using my hands for this – it’s therapeutic and ensures no large pieces remain.
- Start by adding 2-3 tablespoons of frosting to the crumbs and mix well. The mixture should hold together when you squeeze it but not be overly wet or sticky.
- Add more frosting 1 tablespoon at a time if needed, but be careful not to add too much.
Forming and Mounting Your Cake Pops
Now comes the fun part – forming our cake pops and getting those cake pop sticks properly inserted!
Rolling Perfect Cake Balls
- Using a small cookie scoop or tablespoon, portion out equal amounts of the cake mixture.
- Roll each portion between your palms to create smooth, round balls. Aim for balls about 1 ½ inches in diameter.
- Place the formed balls on a parchment-lined baking sheet.
- Refrigerate the cake balls for at least 1 hour, or freeze for 15 minutes. This crucial step helps them firm up before dipping.
Inserting Cake Pop Sticks Properly
The way you insert the cake pop sticks can make or break your pops (literally!). Here’s my foolproof method:
- Melt a small amount of candy melts or chocolate in a microwave-safe bowl.
- Dip the tip of a cake pop stick into the melted chocolate, about ½ inch deep.
- Insert the chocolate-dipped end into a chilled cake ball, pushing it halfway through.
- Return the cake pops to the refrigerator for another 15 minutes to allow the chocolate to harden, cementing the stick in place.
This chocolate “glue” is the secret to preventing cake pops from falling off their sticks – a game-changer I discovered after several heartbreaking cake pop casualties!
Dipping and Decorating Like a Pro
With our cake pop sticks securely in place, it’s time for the magical transformation that turns these treats into eye-catching confections.
Melting and Dipping Tips
- Choose high-quality candy melts or chocolate for the smoothest coating.
- Melt your coating in a deep, narrow container – I often use a coffee mug – which makes dipping easier.
- Add a teaspoon of vegetable shortening or coconut oil to thin the coating if it’s too thick.
- Work with one cake pop at a time, keeping the others refrigerated.
- Gently tap your wrist (not the cake pop) after dipping to remove excess coating.
- If you notice the cake balls starting to fall off the cake pop sticks, your mixture might be too heavy or warm. Return them to the refrigerator to chill further.
Creative Decoration Ideas
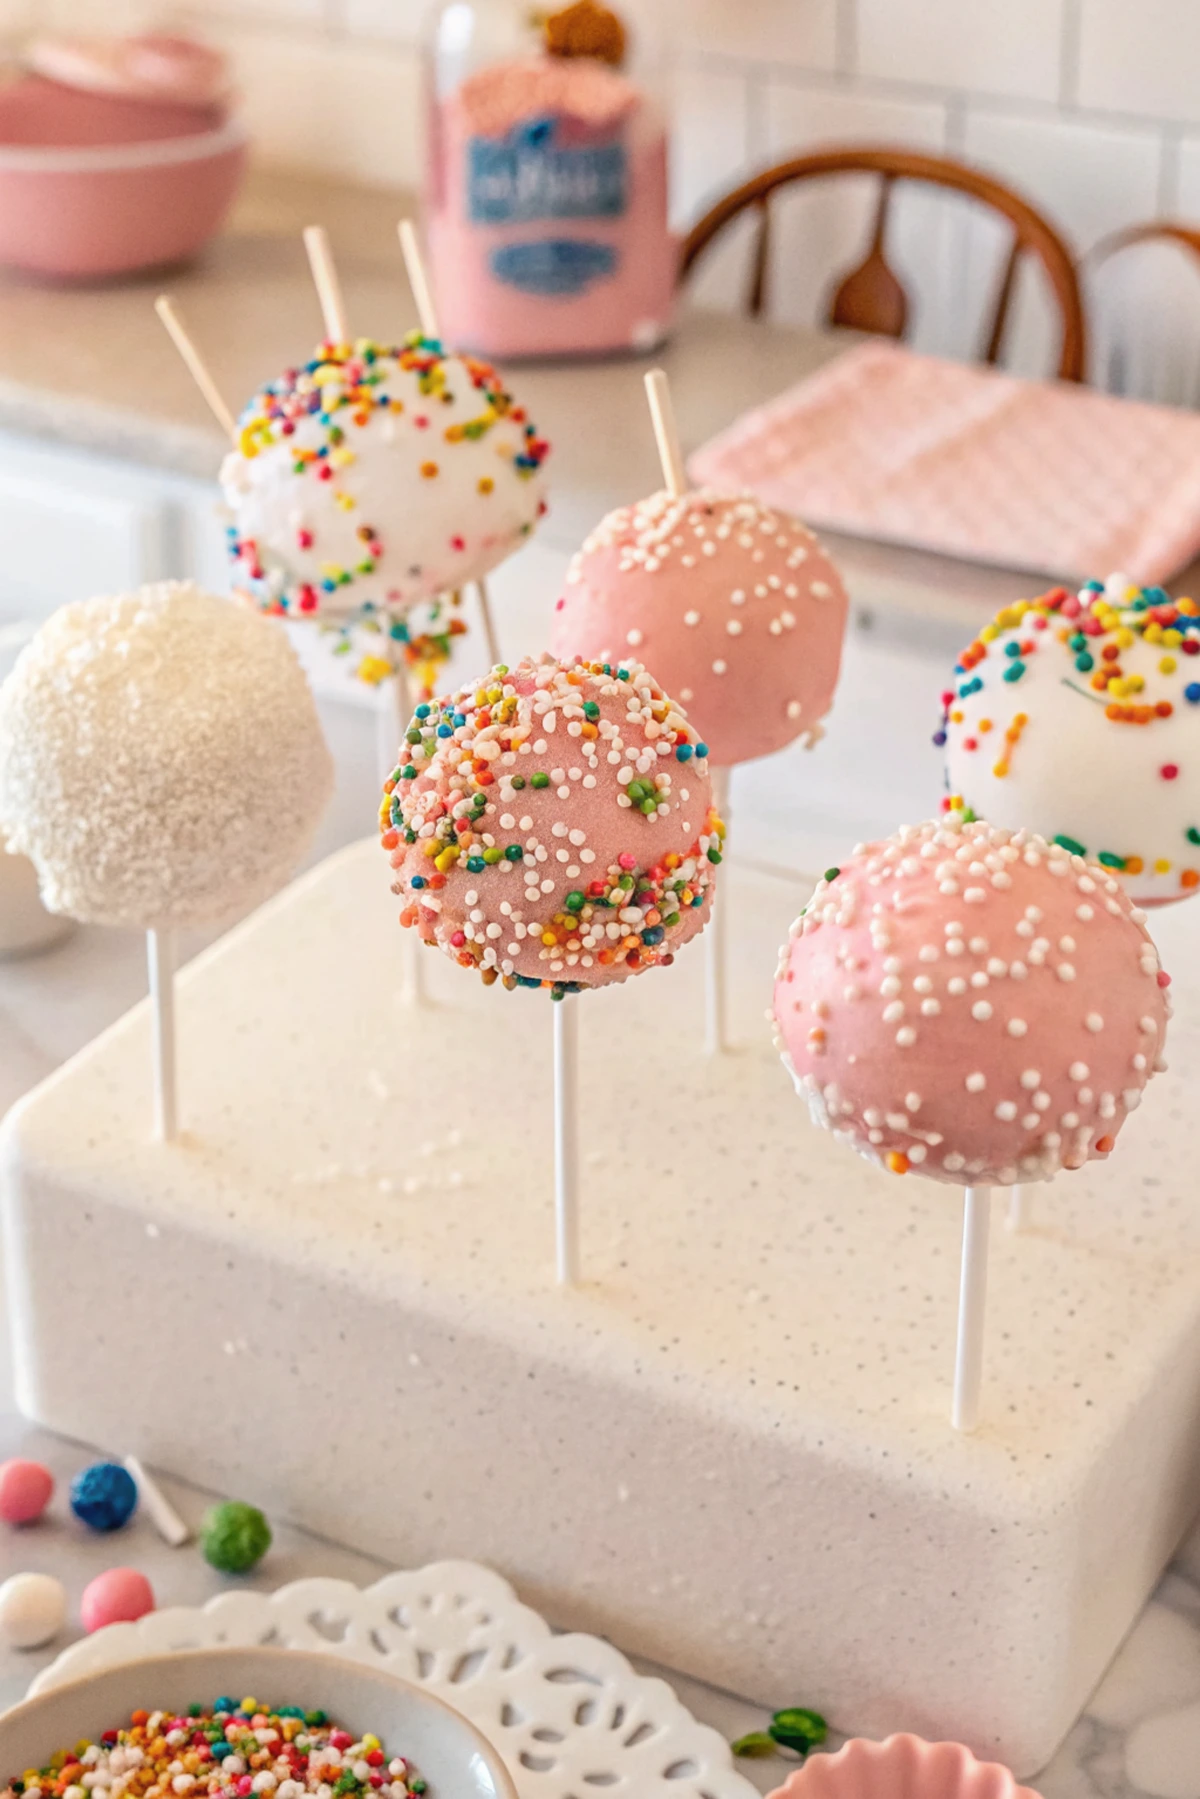
Make your stick cake pops truly special with these decoration techniques:
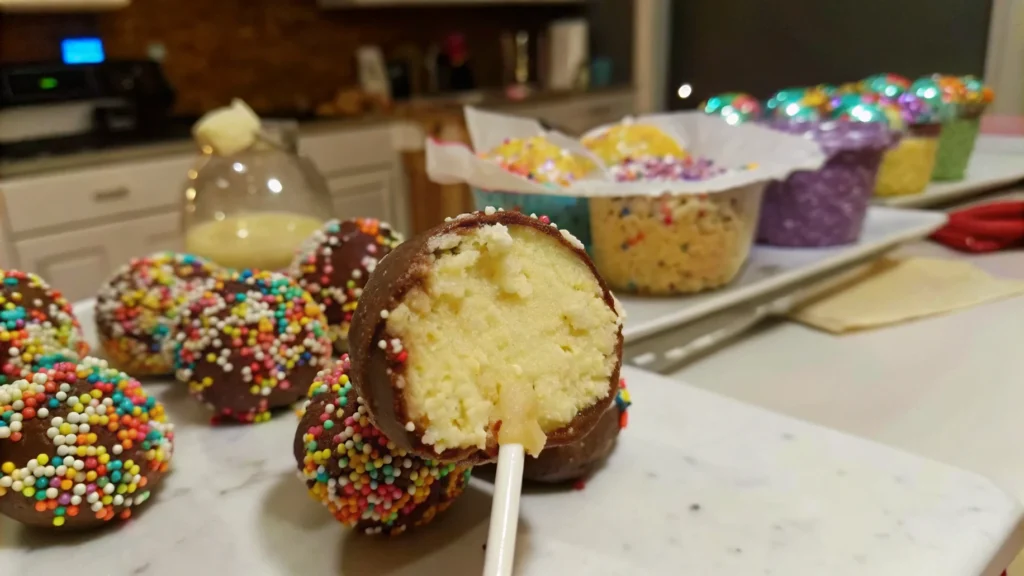
- Sprinkle Paradise: Add sprinkles immediately after dipping before the coating sets.
- Drizzle Effect: Use contrasting colored chocolate drizzled across the set coating.
- Tuxedo Pops: Dip in white chocolate, let set, then partially dip in dark chocolate for a formal look.
- Character Pops: Use candy pieces, edible markers, or additional frosting to create faces or characters.
- Marbled Look: Swirl multiple colors of melted candy coating together for a marble effect.
Displaying and Storing Your Cake Pop Creations
Your beautiful cake pops deserve to be displayed and stored properly to maintain their appearance and taste.
Creative Display Ideas
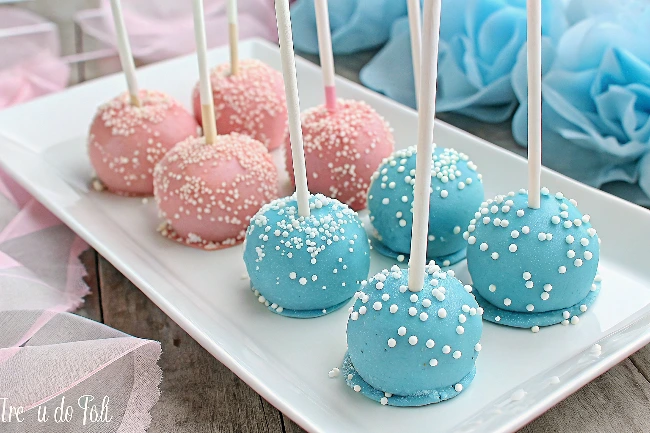
- Traditional Stand: A cake pop stand keeps your creations upright and visible.
- Floral Arrangement: Place cake pops in a decorative container filled with styrofoam, arranged like a bouquet.
- Individual Packaging: Wrap each pop in a small cellophane bag tied with ribbon for gifts or party favors.
- Themed Display: Create a display that matches your event theme – like pops “planted” in a decorative pot for a garden party.
Remember that the length of your cake pop sticks will affect your display options, so consider how you’ll present them when selecting your sticks.
Storage and Shelf Life
To keep your cake pops fresh:
- Store completely set cake pops in an airtight container in the refrigerator for up to a week.
- For longer storage, cake pops can be frozen for up to a month. Allow them to thaw in the refrigerator before serving.
- If giving as gifts, cake pops displayed at room temperature will stay fresh for 1-2 days.
Troubleshooting Common Cake Pop Problems
Even with the best cake pop sticks recipe, things can sometimes go awry. Here’s how to fix common issues:
Cake Pops Falling Off Sticks
- Problem: Cake mixture too moist or heavy
- Solution: Use less frosting in your mixture, ensure the “chocolate glue” is set before dipping, and keep pops chilled between steps
Cracking Coating
- Problem: Temperature difference between cold cake pop and hot coating
- Solution: Let cake pops warm slightly at room temperature before dipping, or add shortening to thin the coating
Misshapen Pops
- Problem: Uneven rolling or pops that flatten on one side
- Solution: Use a cookie scoop for consistent sizing, rotate pops during drying to maintain roundness
Beyond Basic: Advanced Cake Pop Techniques
Once you’ve mastered the basics of using cake pop sticks, why not explore some advanced techniques?
Filled Cake Pops
Create a surprise inside your cake pops:
- Form cake balls with an indentation
- Fill with ganache, caramel, or jam
- Seal with more cake mixture before proceeding with sticks and dipping
Shaped Cake Pops
Move beyond round pops by shaping your cake mixture into:
- Hearts for Valentine’s Day
- Pumpkins for Halloween
- Snowmen for winter holidays
Remember that non-round shapes may require adjustments in how you insert your cake pop sticks for proper balance.
Seasonal and Holiday Cake Pop Ideas
The versatility of cake pops makes them perfect for any celebration. Here are some ideas organized by season:
Spring Celebrations
- Flower-shaped pops with pastel coatings
- Easter egg cake pops with speckled finishes
- Baby shower pops with gender-reveal colors inside
Summer Fun
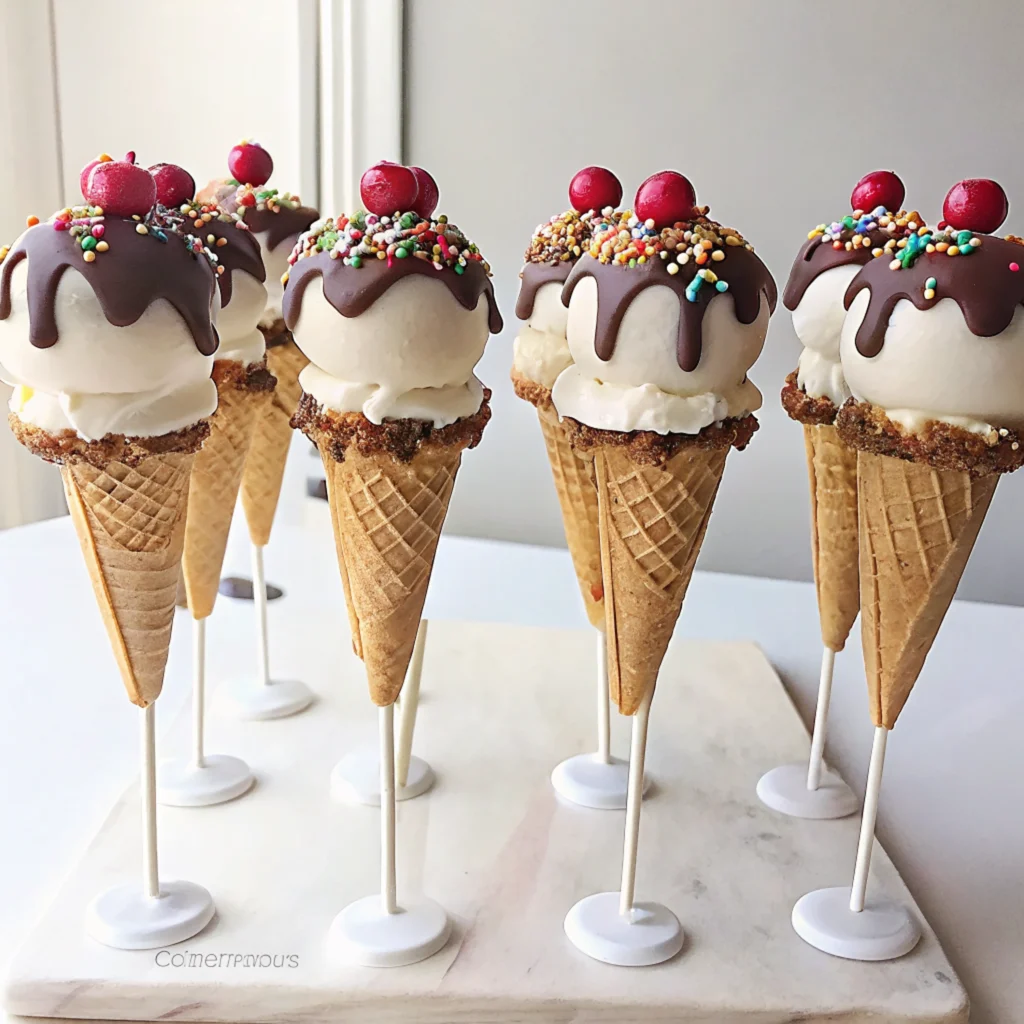
- Beach ball cake pops with striped designs
- Ice cream cone cake pops (use the stick cake pops technique but shape like a scoop!)
- Fruit-shaped pops for summer picnics
Fall Festivities
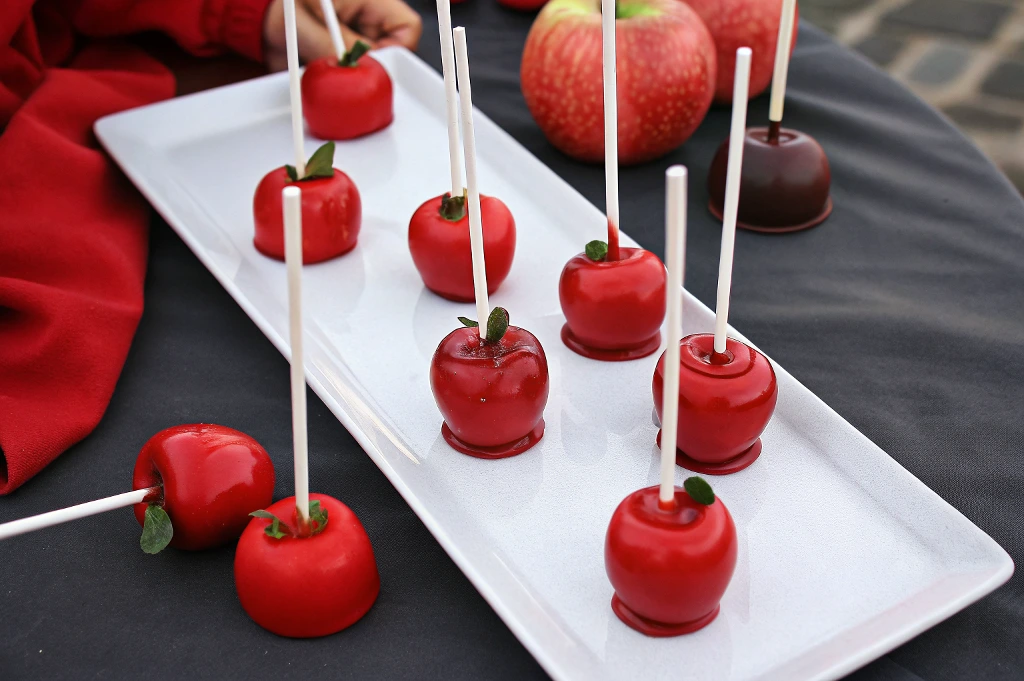
- Apple-shaped cake pops for back-to-school
- Pumpkin spice cake pops with orange coating
- Thanksgiving turkey pops with feather decorations
Winter Wonderland
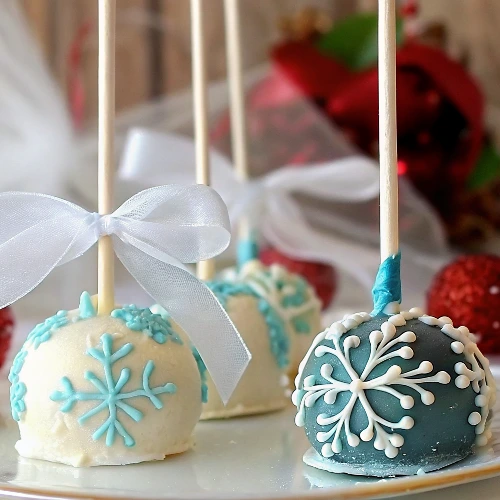
- Snowflake cake pops with white chocolate and edible glitter
- Christmas ornament pops that can hang on a display tree
- New Year’s champagne bottle pops with gold accents
Cake Pops for Special Diets
Everyone deserves to enjoy cake pops! Here are modifications for different dietary needs:
Gluten-Free Cake Pops
Use your favorite gluten-free cake recipe or mix, ensuring your cake pop sticks and other ingredients are also certified gluten-free.
Vegan Cake Pops

Make vegan cake pops using:
- Plant-based cake recipe
- Vegan frosting
- Dairy-free chocolate for coating
- Paper cake pops sticks (some lollipop sticks have animal-derived ingredients)
Reduced Sugar Options
Create healthier cake pops by:
- Using less frosting in the mixture
- Coating with dark chocolate instead of candy melts
- Adding natural sweetness with fruit purees in the cake
FAQ: Everything You Need to Know About Cake Pop Sticks
Q: Can I use toothpicks instead of cake pop sticks?
A: I don’t recommend it. Toothpicks are too short and can pose a choking hazard, especially for children. Proper cake pop sticks are food-safe and the right length for easy handling.
Q: How far should I insert the cake pop stick into the cake ball?
A: Aim to insert the stick about halfway through the cake ball. This provides enough stability without poking through the other side when you dip.
Q: My cake pops are too heavy and falling off the sticks. What went wrong?
A: This usually happens when there’s too much frosting in your cake mixture. Try using less frosting next time, and be sure to refrigerate the pops after inserting the sticks to allow the “chocolate glue” to set firmly.
Q: Can I reuse cake pop sticks?
A: For food safety reasons, I don’t recommend reusing cake pop sticks, especially paper ones that can absorb moisture and harbor bacteria. Fresh sticks ensure your treats are both safe and visually appealing.
Q: Where can I buy cake pop sticks?
A: Cake pop sticks are available at craft stores, baking supply shops, and online retailers. Look for food-grade lollipop or cake pop sticks specifically, usually in the candy-making section.
Q: How many cake pops can I make from one cake?
A: A standard 9-inch round cake typically yields about 30-40 cake pops, depending on the size you roll them.
Let’s Get Popping!
Armed with these tips and techniques for using cake pop sticks, you’re now ready to create your own stunning cake pop masterpieces! The combination of moist cake, sweet coating, and the perfect stick makes for an irresistible treat that’s sure to impress at any gathering.
I’d love to hear about your cake pop adventures! Have you tried any unique flavors or decorations? Did the tips for inserting cake pop sticks help prevent any cake pop disasters? Share your experiences in the comments below, or tag me in your cake pop photos on social media.
Remember, cake pops are as much about the joy of creating as they are about the deliciousness of eating. Embrace any “happy accidents” along the way – even the not-so-perfect pops taste amazing!
Now, grab those cake pop sticks and let your creativity shine. Happy baking, friends!
Hungry for more? Check out our top rated recipes :