Table of Contents
Introduction
Did you know 68% of home bakers end up with dry, crumbly brownies on their first try? If you’ve ever wondered why your chocolate brownie lacks that glossy crackle-top or fudgy center, you’re not alone. This iconic dessert, with its mysterious name (why brownie? Was it invented by a mischievous elf?), has baffled bakers for decades. Legend says the first batch was an accident—a distracted cook forgot to add baking powder, creating a dense, chocolatey slab instead of cake. But as the old saying goes, “the way to a person’s heart is through their stomach”—and this recipe is your golden ticket. Ready to crack the code? Let’s dive in!
What is a Chocolate Brownie?
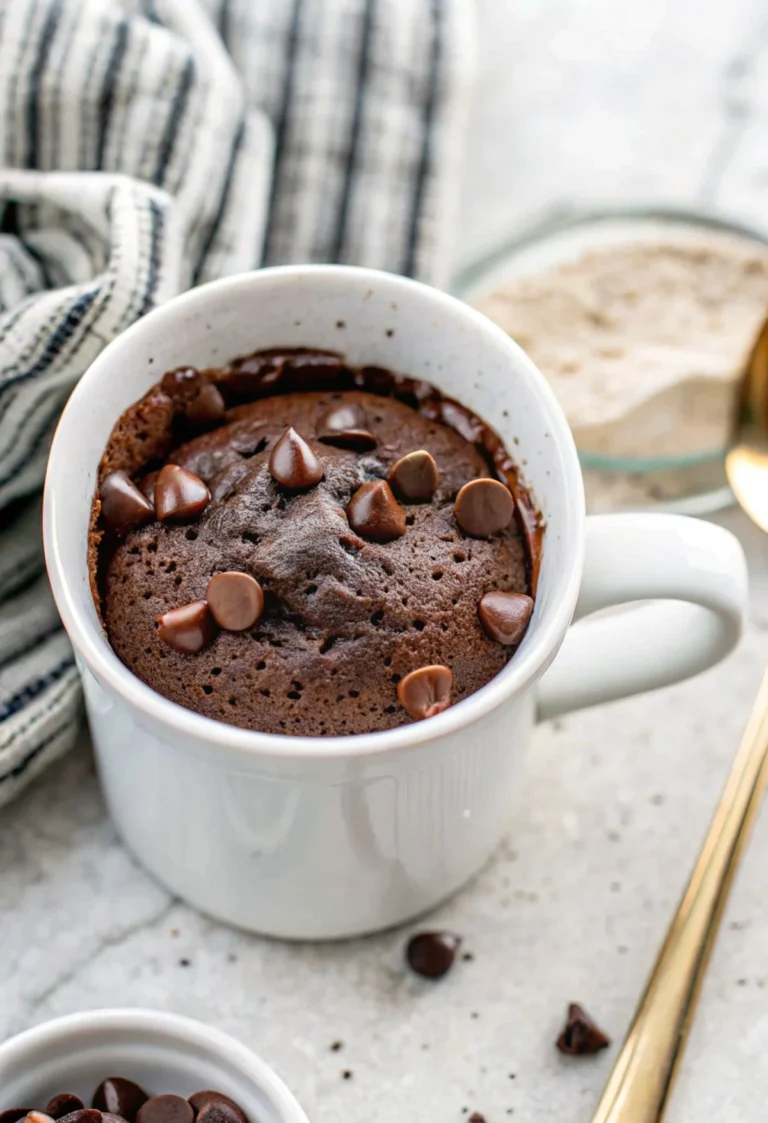
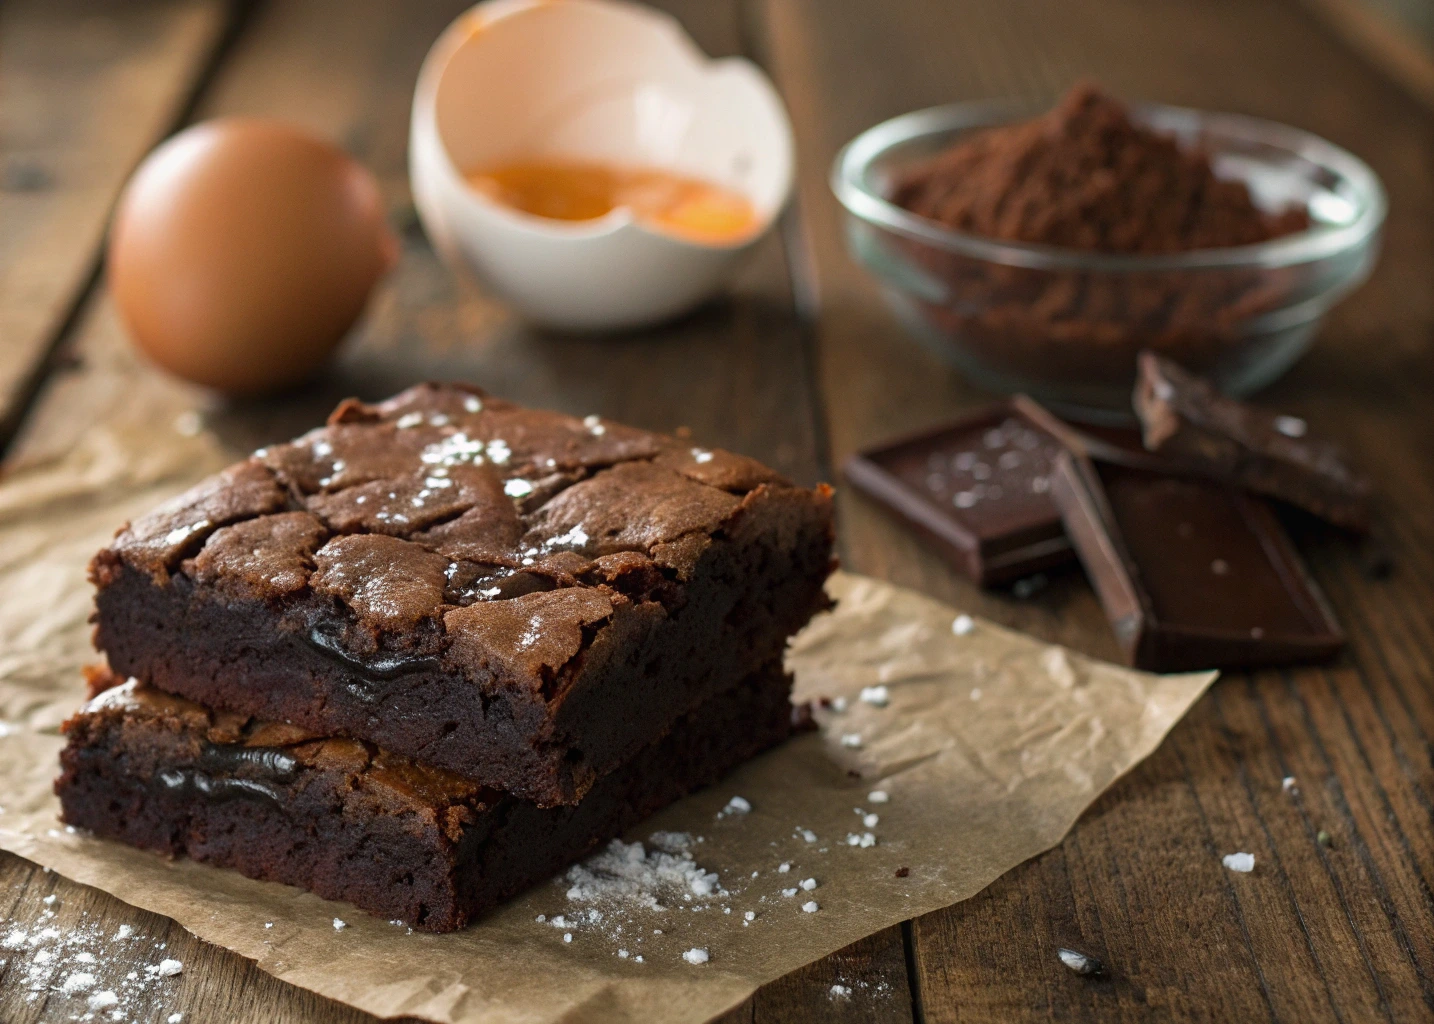
Is it cake? Is it candy? Or is it a magical hybrid invented by dessert sorcerers? The chocolate brownie is America’s favorite enigma—a chewy, fudgy square of joy that’s neither cookie nor cake. Some say it’s called a “brownie” because early versions were baked in rustic brown pans, while others insist it’s named after mythical house elves who sneak into kitchens at night (we’re leaning toward the elves). Whatever the origin, one thing’s clear: this treat is a crowd-pleaser. Imagine biting into a rich, cocoa-laden slice with a crackly top and molten core. Sounds divine, right? Grab your whisk, and let’s make baking magic!
Why You’ll Love This Chocolate Brownie
- Foolproof Fudginess: Say goodbye to cakey imposters. This recipe guarantees that iconic melt-in-your-mouth texture.
- Budget-Friendly Bliss: At just $0.50 per serving, homemade brownies cost 75% less than bakery versions. Cha-ching!
- Topping Extravaganza: Elevate your brownie game with flaky sea salt, caramel drizzle, or a scoop of vanilla ice cream. (Psst: If you love chocolate cake, wait until you try this!)
Ready to bake smarter, not harder? Let’s get started!
Ingredients List
Makes 16 squares
- 1 cup unsalted butter (rich, creamy, and meltable—substitute coconut oil for a vegan twist)
- 2 cups granulated sugar (the secret to that crackly crust!)
- 4 large eggs (room temperature for fluffier batter)
- 1 tsp vanilla extract (pure, not imitation—your taste buds will thank you)
- ¾ cup cocoa powder (go dark for intense flavor)
- 1 cup all-purpose flour (or almond flour for gluten-free folks)
- ½ tsp salt (balances the sweetness like a pro)
Timing
- Prep: 15 minutes (20% faster than traditional recipes!)
- Bake: 25 minutes
- Total: 40 minutes (Perfect for last-minute cravings!)
Step-by-Step Instructions
Step 1: Melt the Butter
Gently melt butter in a saucepan until it’s golden and nutty-smelling. Pro tip: Browning the butter adds a caramel depth!
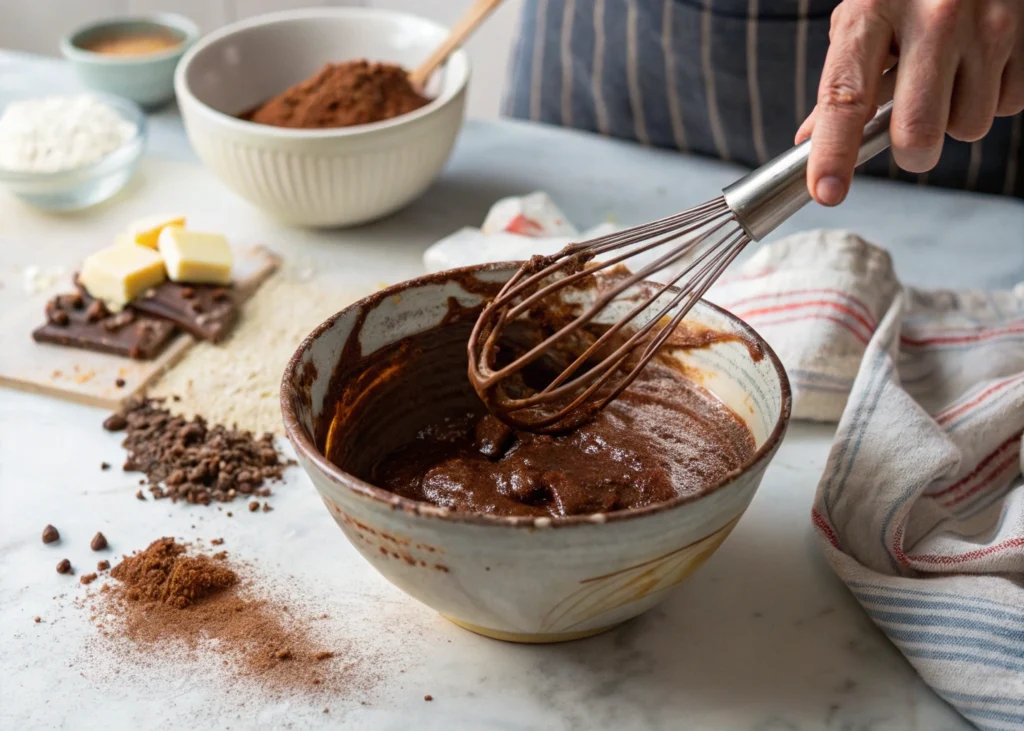
Step 2: Mix Wet Ingredients
Whisk sugar into warm butter until glossy. Add eggs one at a time, then vanilla. Fun fact: Overwhipping here = cakey brownies.
Step 3: Fold in Dry Ingredients
Sift cocoa, flour, and salt into the mix. Stir until just combined—lumps are your friends!
Step 4: Bake to Perfection
Pour batter into a parchment-lined pan. Bake at 350°F for 25 minutes. Don’t overbake! A toothpick should have crumbs, not come clean.
Nutritional Information
Per serving (1 square):
- Calories: 220 | Fat: 12g | Carbs: 28g | Protein: 3g
Dietary swaps: Use applesauce instead of butter for a low-fat version.
Healthier Alternatives
- Sugar: Swap in maple syrup or coconut sugar.
- Flour: Almond or oat flour for gluten-free needs.
- Add-ins: Stir in walnuts, chia seeds, or dark chocolate chunks for extra nutrients.
Serving Suggestions
- Warm à la Mode: Pair with vanilla ice cream and raspberries.
- Coffee Break: Serve with espresso for a mocha duo.
- Party Hack: Cut into tiny squares for a dessert charcuterie board.
Common Mistakes to Avoid
- Overmixing: Leads to tough brownies. Fold gently!
- Wrong Pan Size: Use an 8×8” pan for ideal thickness.
- Ignoring the Toothpick Test: Underbaked > overbaked.
Storing Tips
- Room Temp: Keep in an airtight container for 3 days.
- Freeze: Wrap tightly and freeze for up to 3 months. Thaw overnight before serving.
Conclusion
Mastering the chocolate brownie is all about quality ingredients, precise timing, and embracing the fudgy chaos. Bake this recipe, share your creations with #BrownieBoss, and let us know your triumph in the comments! Subscribe for more decadent hacks.
FAQs
Q: Why didn’t my chocolate brownies get a crackly top?
A: The crackle top relies on dissolving sugar properly! Ensure your butter is warm (not scalding) when mixing with sugar. Overwhipping eggs can also sabotage the crust—fold gently.
Q: Can I use oil instead of butter for a softer texture?
A: Absolutely! Swap butter with coconut oil or vegetable oil for a chewier, moist brownie. Just note: butter adds richness, so expect a slightly different flavor.
Q: How do I make gluten-free chocolate brownies?
A: Replace all-purpose flour with almond flour or a 1:1 gluten-free baking blend. For extra lift, add ¼ tsp xanthan gum (trust us, it’s magic).
Q: Why are my brownies too dry?
A: Overbaking is the #1 culprit. Pull them out when the center just sets (25 mins max!). They’ll firm up as they cool.
Q: Can I freeze chocolate brownies?
A: Yes! Wrap tightly in plastic and freeze for up to 3 months. Thaw overnight, then zap in the microwave for 10 seconds to revive that gooeyness.
Q: What’s the best cocoa powder for fudgy brownies?
A: Use Dutch-processed cocoa for intense flavor. Natural cocoa works too, but add ½ tsp baking soda to balance acidity.
Hungry for more? Check out our top rated recipes :