Table of Contents
Why You’ll Fall in Love With Homemade Classic Cake Doughnuts
Let me take you back to my childhood Saturday mornings – the kitchen filled with the intoxicating aroma of fresh doughnuts, my grandmother’s hands dusted with flour as she transformed simple ingredients into rings of pure joy. Those memories inspired my lifelong love affair with classic cake doughnuts.
Unlike their yeasted cousins, cake doughnuts rely on baking powder for their rise, giving them that distinctive dense-yet-tender crumb we all crave. No waiting for dough to proof means you’re just 30 minutes away from doughnut bliss! Whether you choose the traditional fried version or opt for a healthier baked approach with my classic cake doughnuts easy recipe baked variation, these treats deliver comfort in every bite.
The beauty of mastering a simple cake doughnuts recipe is its versatility. Once you nail the basics, you can customize with glazes, toppings, and mix-ins to your heart’s content. I’ve spent years perfecting this recipe, eliminating common pitfalls and ensuring that even first-time doughnut makers can achieve bakery-worthy results.
Ready to create some magic? Let’s dive in!
Essential Ingredients for Perfect Classic Cake Doughnuts
Before we start mixing and frying, let’s talk about what makes these classic cake doughnuts truly special. Quality ingredients make all the difference between an ordinary doughnut and an extraordinary one.
The Dry Ingredients
- 2½ cups all-purpose flour – The backbone of our doughnuts. I prefer unbleached for a slightly better flavor.
- 1 cup granulated sugar – Provides sweetness and helps create that crisp exterior.
- 2 teaspoons baking powder – Our leavening agent that gives the doughnuts their rise.
- ½ teaspoon baking soda – Works with the baking powder for the perfect texture.
- ¾ teaspoon salt – Don’t skip this! Salt enhances all the flavors.
- ¼ teaspoon ground nutmeg – The secret ingredient in classic cake doughnuts. It’s subtle but essential.
- ⅛ teaspoon ground cinnamon – Optional, but adds wonderful warmth.
The Wet Ingredients
- ¾ cup buttermilk – Provides tenderness and a slight tang.
- 2 large eggs – Binds everything together and adds richness.
- ¼ cup unsalted butter, melted – For flavor and moisture.
- 2 teaspoons vanilla extract – Use the real stuff for the best flavor.
For Frying
- Vegetable oil or canola oil – You’ll need enough to fill your pot 2-3 inches deep.
For the Classic Glaze (Optional)
- 2 cups powdered sugar
- ¼ cup milk
- 1 teaspoon vanilla extract
Each ingredient plays a crucial role in creating that perfect cake doughnut texture we’re after – crisp on the outside, tender and cakey within. And for those looking for a classic cake doughnuts easy recipe baked option, I’ll cover that variation later in this post.
Essential Equipment for Doughnut Success
Before diving into the mixing and frying, let’s make sure you have the right tools on hand:
- Doughnut cutter – A 3-inch cutter with a 1-inch hole is ideal, but two differently sized round cutters will work too.
- Heavy-bottomed pot or Dutch oven – For consistent heat distribution during frying.
- Candy/deep-fry thermometer – Temperature control is crucial for perfect doughnuts.
- Slotted spoon or spider strainer – For safely removing doughnuts from hot oil.
- Cooling rack – Placed over a baking sheet to catch drips.
- Stand mixer or hand mixer – Makes the mixing process easier.
- Rolling pin – For evenly rolling out your dough.
For the baked version of this classic cake doughnuts recipe, you’ll also need:
- Doughnut pans – Specially designed for baking perfect doughnut shapes.
Having these tools ready before you start will make the doughnut-making process much smoother and more enjoyable!
Step-by-Step Classic Cake Doughnuts Recipe
Now for the fun part! Let’s break down this simple cake doughnuts recipe into manageable steps.
Preparing the Dough
Combine dry ingredients – In a large bowl, whisk together the flour, sugar, baking powder, baking soda, salt, nutmeg, and cinnamon. This even distribution ensures consistent flavor and texture.
Mix wet ingredients – In a separate bowl, whisk the buttermilk, eggs, melted butter, and vanilla until well combined.
Create the dough – Pour the wet mixture into the dry ingredients and stir just until combined. The dough will be sticky – that’s exactly what we want! Overmixing leads to tough doughnuts, so use a gentle hand here.
Chill the dough – Cover the bowl with plastic wrap and refrigerate for at least 1 hour (or overnight). This resting period allows the flour to hydrate fully and makes the dough easier to handle.
Shaping Your Classic Cake Doughnuts
Prepare your workspace – Generously flour a clean surface and turn out the chilled dough. Dust the top with additional flour.
Roll out the dough – Using a floured rolling pin, gently roll the dough to about ½-inch thickness. If the dough sticks, add a bit more flour.
Cut the doughnuts – Dip your doughnut cutter in flour and press firmly through the dough, twisting slightly to ensure clean edges. Place cut doughnuts on a floured baking sheet.
Re-roll scraps – Gather dough scraps, re-roll, and cut additional doughnuts. You should get about 12-15 doughnuts total.
Allow to rest – Let the cut doughnuts rest for 15 minutes while you heat the oil. This brief rest helps them maintain their shape during frying.
Frying to Perfection
Heat the oil – In your heavy-bottomed pot, heat 2-3 inches of oil to exactly 350°F (175°C). Use your thermometer to monitor the temperature constantly.
Test the oil – Drop a scrap of dough into the oil. If it bubbles immediately and rises to the surface, you’re ready to fry.
Fry in batches – Carefully lower 2-3 doughnuts into the hot oil. Don’t crowd the pot! Fry for about 1½ minutes per side until golden brown.
Control the temperature – The oil temperature will drop when you add doughnuts. Adjust your heat to maintain 350°F throughout the frying process.
Drain and cool – Remove doughnuts with your slotted spoon and place on the cooling rack. Allow to cool slightly before glazing.
The key to perfect classic cake doughnuts is maintaining that oil temperature. Too hot, and they’ll brown too quickly without cooking through; too cool, and they’ll absorb too much oil and become greasy.
Classic Cake Doughnuts Easy Recipe Baked Variation
If you’re looking for a lighter option or just don’t want to deal with hot oil, this baked variation of our classic cake doughnuts recipe delivers remarkably delicious results!
Ingredients Adjustments for Baking
- Increase the butter to ⅓ cup (melted)
- Add 2 tablespoons of plain yogurt for moisture
Baking Instructions
Preheat your oven to 350°F (175°C) and generously grease two doughnut pans.
Follow the same mixing instructions for the standard dough, incorporating the extra butter and yogurt with the wet ingredients.
The batter will be slightly looser than the fried version. Transfer it to a large piping bag or ziplock bag with a corner snipped off.
Pipe the batter into the doughnut pans, filling each cavity about ⅔ full.
Bake for 12-14 minutes until the tops spring back when lightly touched.
Allow to cool in the pan for 5 minutes, then transfer to a cooling rack.
While baked doughnuts have a slightly different texture than fried ones, they’re still utterly delicious and perfect for when you’re craving classic cake doughnuts but want a healthier alternative. The tops won’t be quite as crispy, but the interior remains moist and tender.
Irresistible Glazes and Toppings
No classic cake doughnuts recipe would be complete without some delicious finishing touches! Here are some of my favorite ways to dress up these treats:
Classic Vanilla Glaze
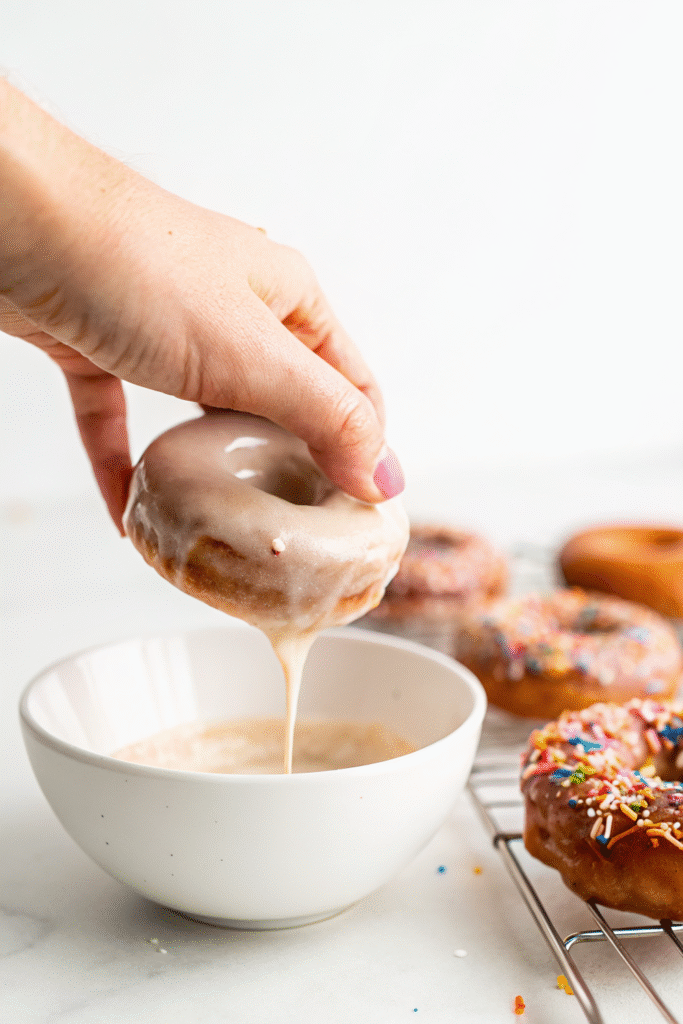
In a wide, shallow bowl, whisk together 2 cups powdered sugar, ¼ cup milk, and 1 teaspoon vanilla extract until smooth.
Dip the tops of slightly cooled doughnuts into the glaze, allowing excess to drip off.
Return to the cooling rack and allow the glaze to set for about 10 minutes.
Chocolate Glaze
Combine 1 cup powdered sugar, 3 tablespoons cocoa powder, 3 tablespoons milk, and ½ teaspoon vanilla extract.
Whisk until completely smooth, adding more milk if needed for the right consistency.
Dip or drizzle over cooled doughnuts.
Cinnamon Sugar Coating
Mix 1 cup granulated sugar with 2 tablespoons ground cinnamon in a paper bag or shallow dish.
While doughnuts are still warm (but not hot), toss them in the cinnamon sugar mixture.
The residual heat helps the coating stick perfectly!
Creative Variations
- Maple Glaze: Replace vanilla extract with maple extract and add 1 tablespoon real maple syrup.
- Lemon Glaze: Use 2 tablespoons fresh lemon juice instead of milk and add 1 tablespoon lemon zest.
- Toasted Coconut: Dip glazed doughnuts in toasted shredded coconut before the glaze sets.
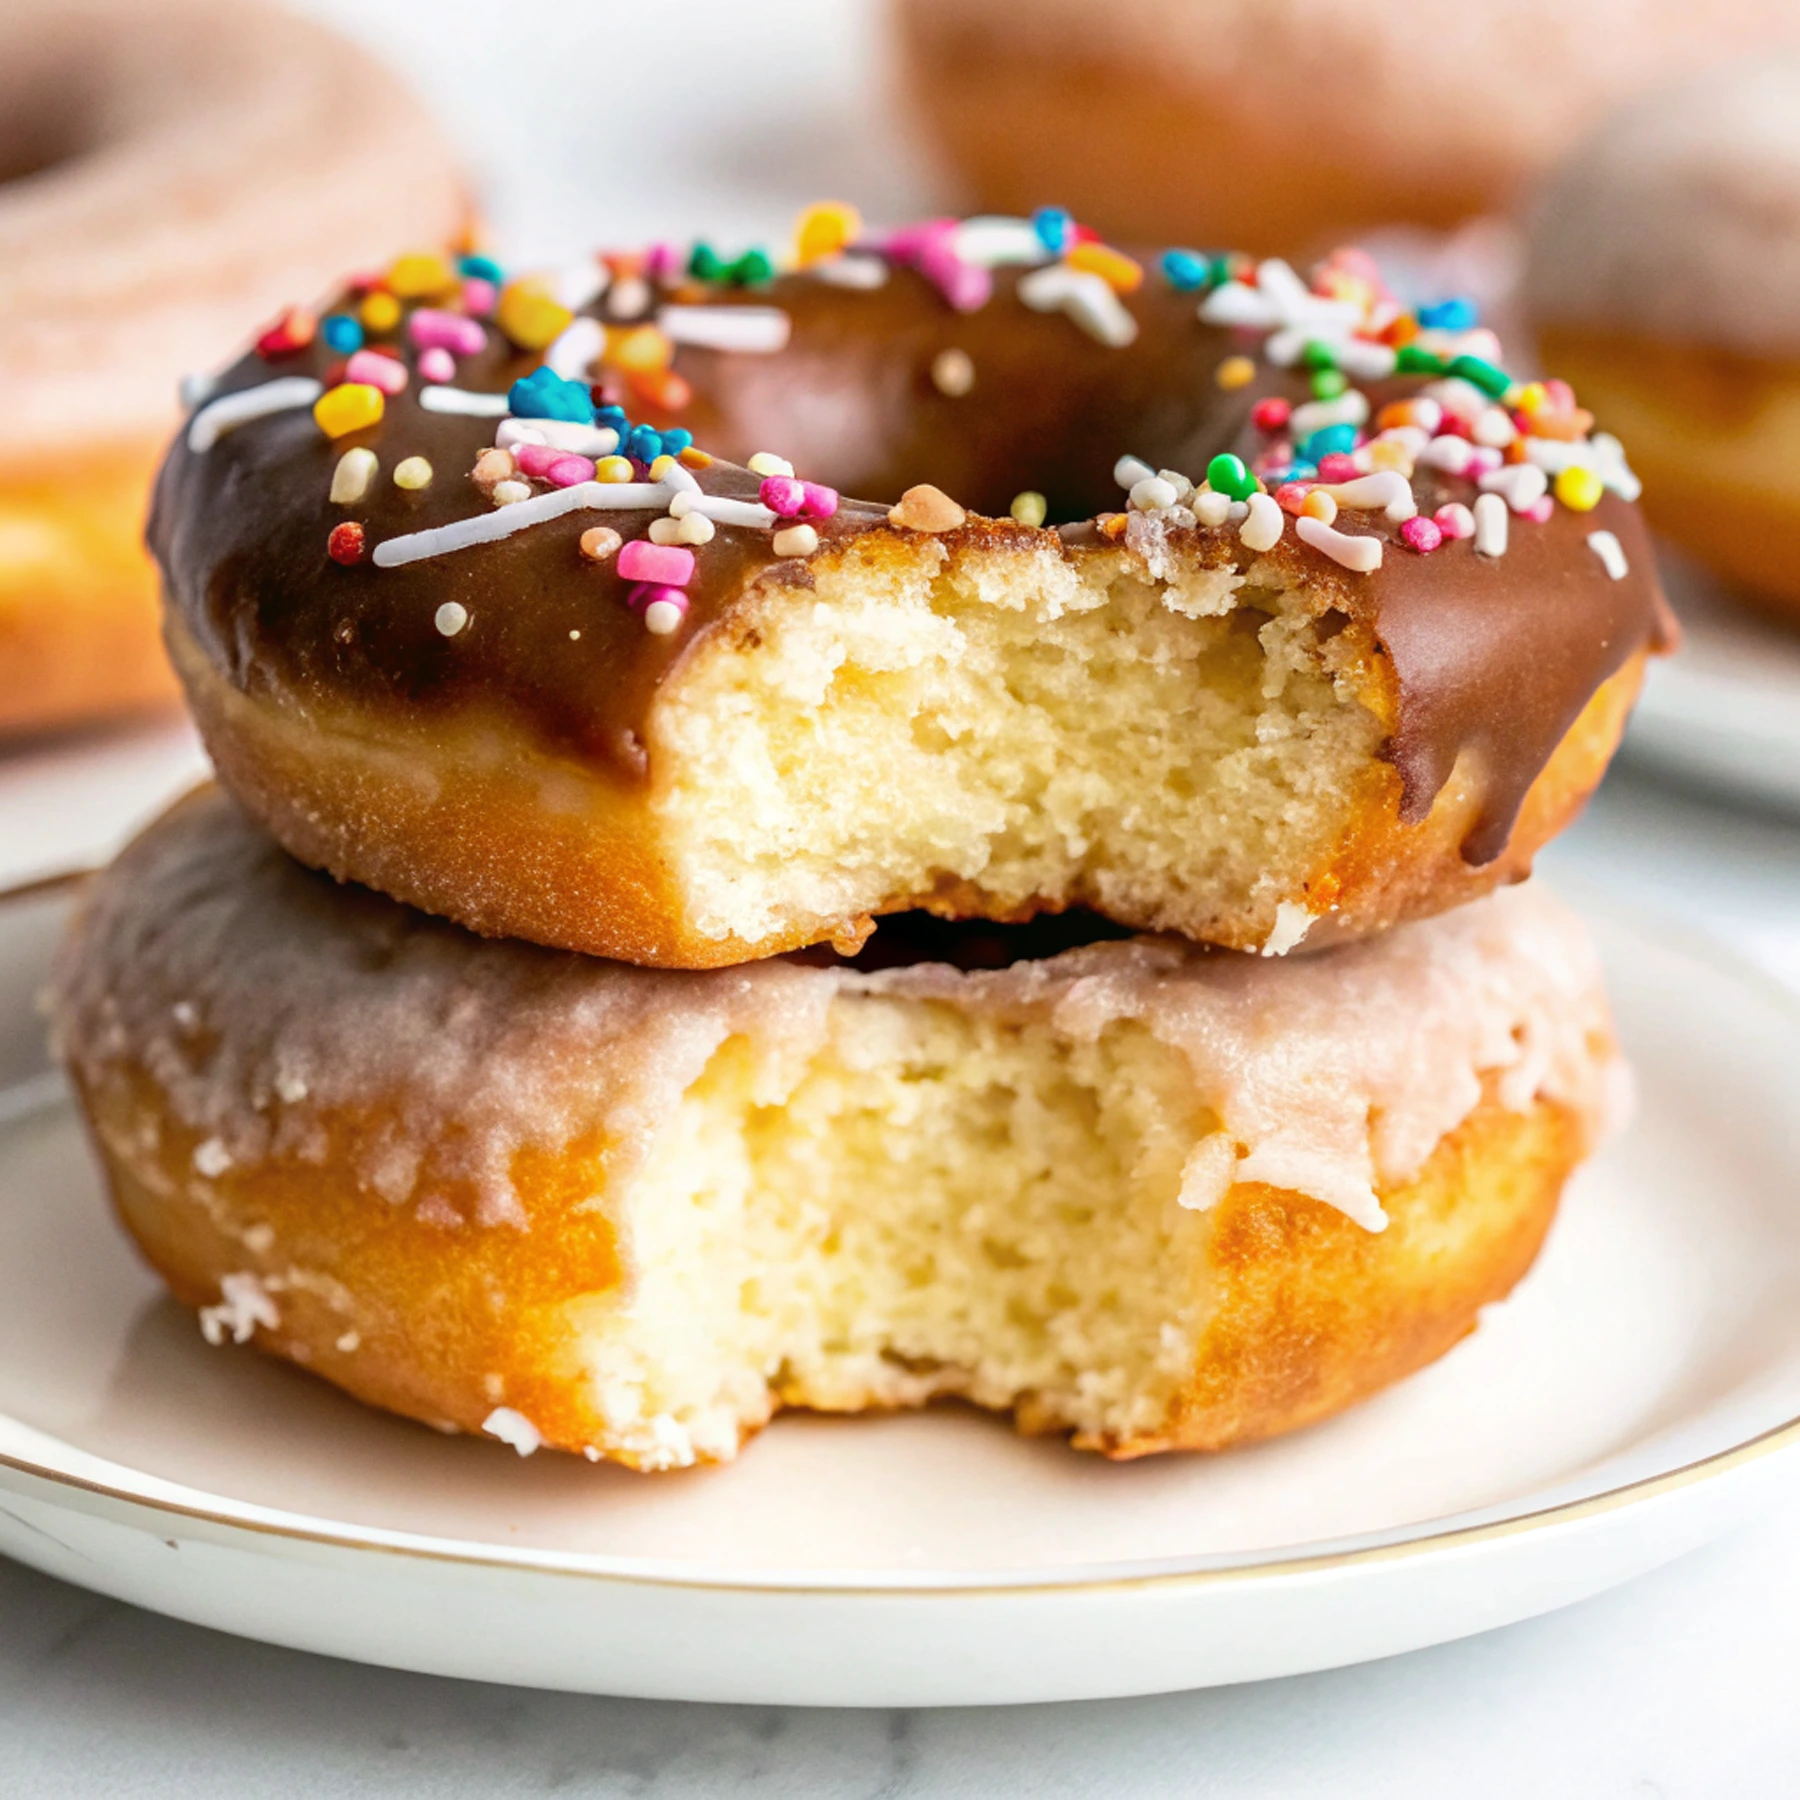
- Sprinkle Party: Cover freshly glazed doughnuts with colorful sprinkles for a festive touch.
The best part about mastering this simple cake doughnuts recipe is that you can let your creativity shine with the toppings. My personal favorite is half-dipped in chocolate glaze with a sprinkle of crushed pistachios!
Troubleshooting Your Classic Cake Doughnuts
Even with a foolproof recipe, sometimes things don’t go exactly as planned. Here’s how to solve common issues with classic cake doughnuts:
Doughnuts Too Dense or Heavy
- Possible cause: Overmixing the dough or adding too much flour
- Solution: Mix just until ingredients are combined and be careful when flouring your work surface. The dough should remain slightly sticky.
Doughnuts Absorbing Too Much Oil
- Possible cause: Oil temperature too low
- Solution: Maintain a steady 350°F temperature and don’t overcrowd the pot.
Doughnuts Browning Too Quickly
- Possible cause: Oil temperature too high
- Solution: Use a reliable thermometer and adjust heat as needed.
Doughnuts Collapsing or Losing Shape
- Possible cause: Dough not chilled enough or cut doughnuts left sitting too long
- Solution: Ensure dough is properly chilled and fry doughnuts soon after cutting.
Glaze Too Thin or Not Setting
- Possible cause: Proportions off or doughnuts too hot when glazed
- Solution: Adjust powdered sugar amount and allow doughnuts to cool slightly before glazing.
Remember, even imperfect doughnuts are delicious doughnuts! Don’t let minor issues discourage you from enjoying your homemade classic cake doughnuts.
Storing and Serving Your Classic Cake Doughnuts
Like most homemade treats, classic cake doughnuts are at their absolute best when fresh. That first bite of a still-warm doughnut is a taste of pure heaven! However, if you need to make them ahead or have leftovers, here’s how to keep them at their best:
Short-Term Storage
- Store cooled, unglazed doughnuts in an airtight container at room temperature for up to 2 days.
- If glazed, place a piece of parchment paper between layers to prevent sticking.
- Refresh day-old doughnuts with 8-10 seconds in the microwave for that just-made texture.
Freezing Options
- Unglazed doughnuts freeze beautifully! Cool completely, then wrap individually in plastic wrap.
- Place wrapped doughnuts in a freezer bag and freeze for up to 3 months.
- Thaw at room temperature and warm slightly before glazing and serving.
Perfect Pairings
Classic cake doughnuts are delightful on their own, but they’re even better alongside:
- A steaming cup of coffee or espresso
- Hot chocolate with whipped cream for the kids
- A glass of cold milk
- Fresh seasonal fruit for balance
For an extra special weekend brunch, serve a platter of various glazed and topped classic cake doughnuts as the centerpiece. Your family and friends will be utterly impressed with your homemade treats!
Frequently Asked Questions About Classic Cake Doughnuts
Can I make the dough ahead of time?
Absolutely! The dough actually benefits from chilling overnight in the refrigerator. This resting period allows the flavors to develop and makes the dough easier to handle. Just be sure to cover it tightly with plastic wrap to prevent it from drying out.
Why do my classic cake doughnuts taste greasy?
Greasy doughnuts usually indicate that your oil temperature was too low during frying. When the oil isn’t hot enough (below 350°F), the doughnuts spend too much time in the oil and absorb more of it. Always use a reliable thermometer and maintain that perfect 350°F temperature.
Can I use a different flour for this simple cake doughnuts recipe?
While all-purpose flour gives the best results, you can experiment with alternatives. Cake flour will create a more tender, delicate crumb, while whole wheat pastry flour can be substituted for up to half the all-purpose flour for a nuttier flavor and added nutrition.
My doughnuts didn’t rise properly. What went wrong?
Check that your baking powder and baking soda are fresh—they lose potency over time. Also, make sure you’re not overmixing the dough, which can develop too much gluten and prevent proper rising.
Can I use this classic cake doughnuts recipe for doughnut holes?
Definitely! Use a small round cutter or roll small balls of dough by hand. Doughnut holes will fry much faster—about 1-2 minutes total—so watch them carefully and adjust your timing.
Is there a dairy-free version of classic cake doughnuts?
Yes! Replace the buttermilk with a non-dairy alternative mixed with 1 tablespoon of lemon juice or vinegar to mimic buttermilk’s acidity. Substitute the butter with melted coconut oil or a vegan butter alternative for completely dairy-free classic cake doughnuts.
Your Turn to Create Classic Cake Doughnuts!
There’s something deeply satisfying about creating these beloved treats in your own kitchen. The process of making classic cake doughnuts from scratch connects us to baking traditions that have brought joy to families for generations.
I’d love to hear about your doughnut-making adventures! Did you try the traditional fried version or opt for the classic cake doughnuts easy recipe baked option? Which glaze became your family’s favorite? Perhaps you created a unique topping combination that was a huge hit?
Drop a comment below sharing your experience, any clever tweaks you made to the simple cake doughnuts recipe, or photos of your beautiful creations. Your tips might help another home baker achieve doughnut perfection!
And if you’re looking for more breakfast treat inspiration, be sure to check out my recipes for cinnamon rolls, breakfast muffins, or traditional Belgian waffles. There’s nothing quite like homemade breakfast treats to make any morning special.
Until next time, happy baking and enjoy every bite of those irresistible classic cake doughnuts!
Hungry for more? Check out our top rated recipes :