Table of Contents
The Magic of Crepe Cakes: French Elegance Made Accessible
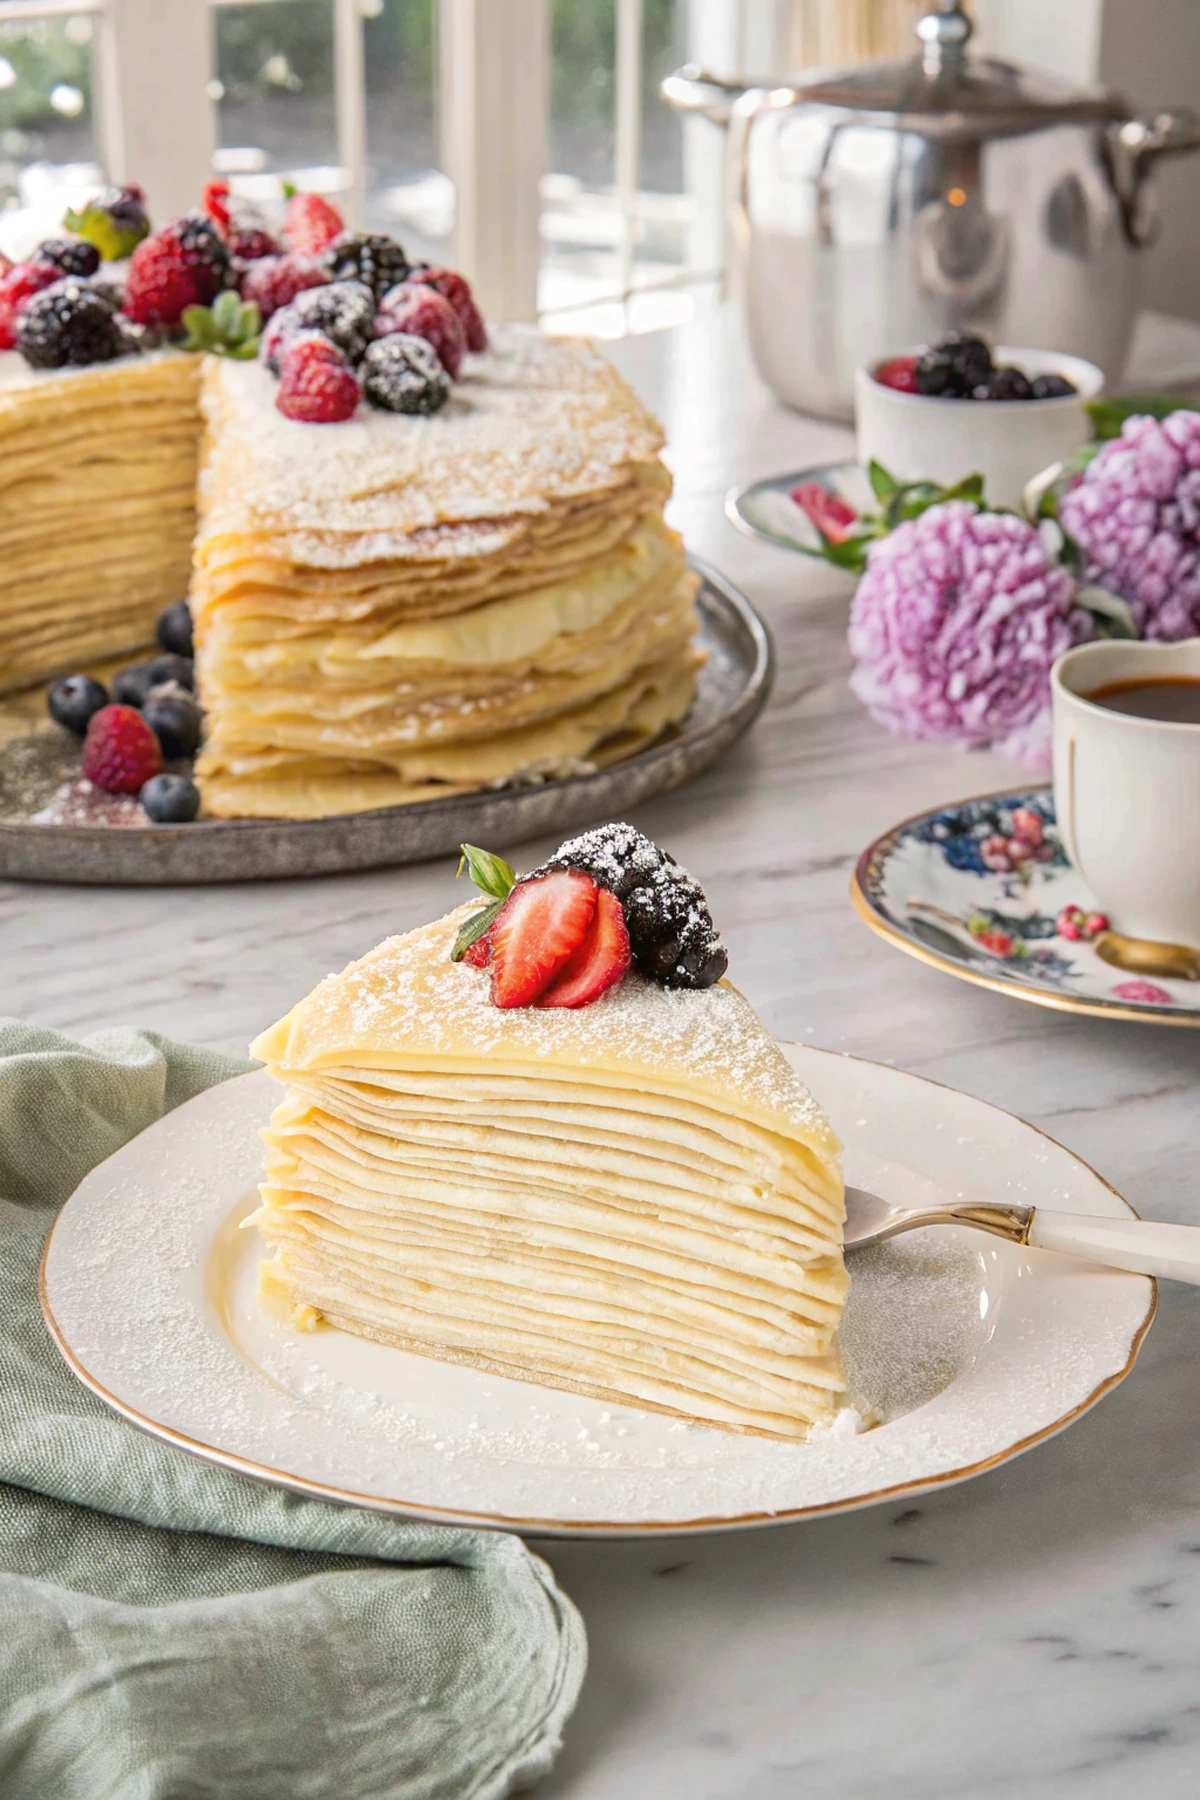
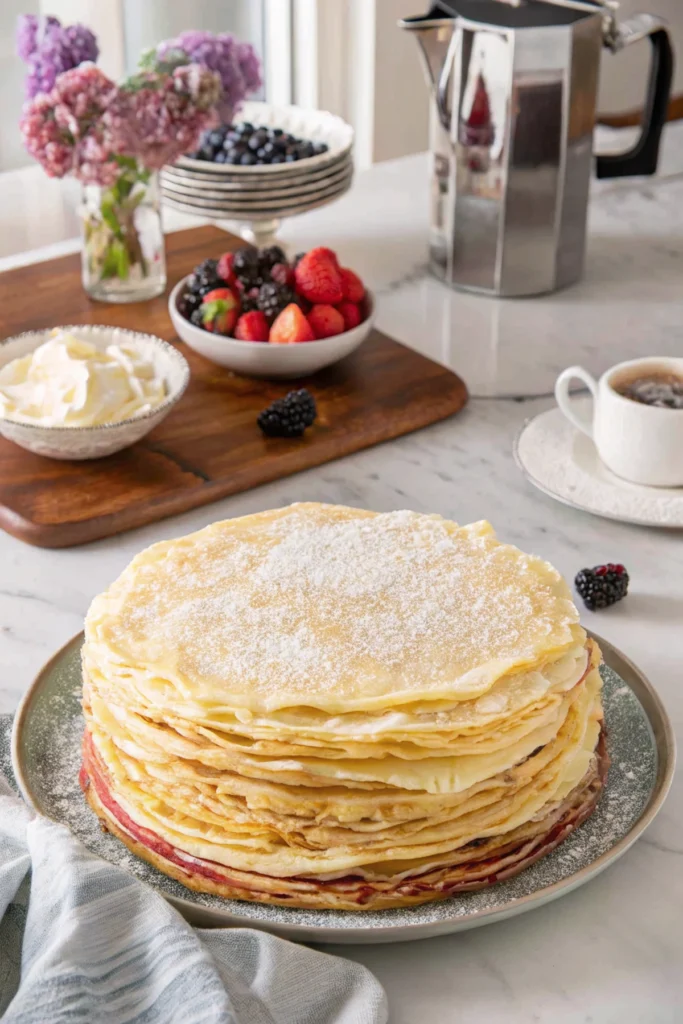
There’s something utterly magical about slicing into a crepe cake. Those beautiful, paper-thin layers stacked high with delicate filling in between – it’s like revealing a secret work of art that you created in your own kitchen. The first time I made a crepe cake, I was intimidated by those perfect Instagram photos, but I quickly discovered that this impressive dessert is actually quite forgiving for home bakers.
A crepe cake (or “gâteau de crêpes” if we’re feeling fancy) transforms simple ingredients into something extraordinary. Unlike traditional cakes that require precise measurements and chemistry, the crepe cake is all about patience and assembly. Each delicate pancake stacks together with luscious filling to create a dessert that’s impressive enough for special occasions but actually straightforward enough for a weekend project.
Whether you’re looking to tackle the classic mille crepe cake with its “thousand layers” (don’t worry, you’ll only need about 20-25!), or explore creative variations like a strawberry crepe cake bursting with summer flavors, I’ll guide you through every step. By the end of this post, you’ll have all the knowledge needed to create a showstopping dessert that will have everyone asking for your secret.
Let’s dive into the wonderful world of crepe cakes – where simplicity meets elegance in the most delicious way possible!
What Makes a Perfect Crepe Cake?
Before we get into the nitty-gritty of making your crepe cake, let’s understand what we’re aiming for. The hallmark of a stunning crepe cake is:
- Consistently thin crepes – Each layer should be delicate and even
- Stable, flavorful filling – Not too runny, not too stiff
- Beautiful stacking – Creating that wow-factor when sliced
- Balanced flavors – The crepes and filling should complement each other
The traditional mille crepe cake originated in France but gained worldwide popularity through Japanese bakeries that perfected the technique. Today, you’ll find everything from classic vanilla pastry cream versions to modern interpretations at places like Cookie’s Cake Shop, where their strawberry crepe cake has developed quite the following.
Now, let’s gather our ingredients and equipment to create crepe cake magic!
Essential Ingredients & Equipment
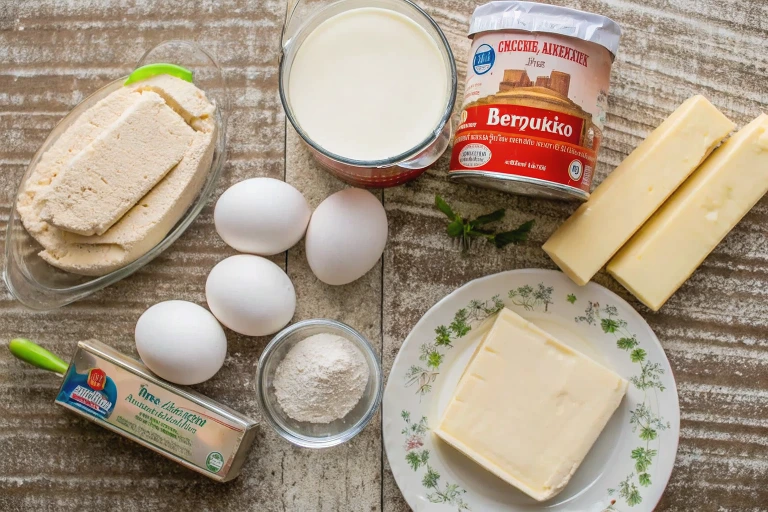
For the Crepes:
- 2 cups all-purpose flour
- 4 large eggs
- 2½ cups whole milk
- ¼ cup granulated sugar
- 3 tablespoons melted butter
- 1 teaspoon vanilla extract
- ¼ teaspoon salt
- Additional butter for cooking
For the Classic Filling:
- 2 cups heavy whipping cream
- 8 oz mascarpone cheese, room temperature
- ½ cup powdered sugar
- 2 teaspoons vanilla extract
Equipment You’ll Need:
- 8-inch non-stick skillet or crepe pan
- Blender or large mixing bowl
- Offset spatula
- Whisk
- Measuring cups and spoons
- Ladle or ¼ cup measure
- Cooling rack
- Cake stand or serving plate
- Plastic wrap
- Optional: kitchen scale (for consistent crepe batter)
Having everything prepared before you begin will make the process much smoother. Trust me, when you’re in the crepe-making zone, you don’t want to be hunting for ingredients!
Crepe Cake Base: Perfecting Your Crepe Batter
The foundation of any great crepe cake is, of course, the crepes themselves. Creating the perfect batter is crucial for those delicate, even layers that make a crepe cake so distinctive.
The Perfect Crepe Batter Recipe
Combine wet ingredients: In a blender, combine eggs, milk, melted butter, and vanilla extract. Pulse briefly to combine.
Add dry ingredients: Add flour, sugar, and salt to the wet ingredients.
Blend until smooth: Blend for about 15-20 seconds until completely smooth. The batter should be quite thin – much thinner than pancake batter, with a consistency similar to heavy cream.
Rest the batter: This is crucial! Transfer the batter to a bowl, cover with plastic wrap, and refrigerate for at least 1 hour (or up to overnight). This allows the flour to fully absorb the liquid and helps prevent tearing when cooking.
Why Rest Your Batter?
I learned this the hard way when I tried to rush my first crepe cake. Resting the batter isn’t just baking folklore – it truly makes a difference! The gluten relaxes, bubbles rise to the surface, and your crepes will cook more evenly. If you’re in a hurry, even 30 minutes is better than nothing, but aim for that full hour if possible.
Mastering the Crepe-Making Technique
Now comes the part that intimidates many home bakers – actually cooking those perfect, paper-thin crepes. But don’t worry! With a few simple techniques, you’ll be flipping like a pro in no time.
Step-by-Step Crepe Cooking:
Heat your pan: Warm your non-stick skillet or crepe pan over medium heat. The pan is ready when a drop of water sizzles on the surface.
Butter the pan: Lightly butter the pan before your first crepe, then every few crepes afterward. I use a paper towel to wipe a thin layer of butter – too much and your crepes will be greasy.
Pour and swirl: Hold the pan in one hand (off the heat), and with your other hand, pour about ¼ cup of batter into the center. Immediately tilt and rotate the pan to spread the batter in a thin, even layer. This takes practice, but you’ll get it!
Cook until set: Return the pan to heat and cook until the edges look dry and slightly golden, about 1-2 minutes.
Flip with confidence: Using a thin spatula, gently loosen the edges, then flip the crepe in one quick motion. (It’s all in the wrist!)
Finish cooking: Cook for another 30 seconds on the second side.
Cool properly: Transfer to a cooling rack in a single layer. Once cool, you can stack them with parchment paper between each crepe.
Troubleshooting Common Crepe Problems:
- Tearing crepes? Your batter might be too thick or the pan too hot.
- Crepes too thick? Add a bit more milk to thin the batter.
- Uneven cooking? Make sure to swirl quickly and evenly when pouring.
- First crepe looks terrible? That’s normal! The first crepe is often the “test crepe” – even professional chefs expect this.
Remember, you’ll need approximately 20-25 crepes for a standard crepe cake, so I recommend making a few extra to account for any tears or imperfect ones (which make perfect chef’s snacks!).
Creating the Perfect Filling for Your Crepe Cake
The filling is where you can really make your crepe cake shine. While traditional mille crepe cake often features pastry cream, I find that a stabilized whipped cream filling is easier for beginners and just as delicious.
Classic Mascarpone Cream Filling:
Prepare the mascarpone: In a large bowl, beat the mascarpone cheese until smooth.
Whip the cream: In a separate chilled bowl, whip heavy cream, powdered sugar, and vanilla until soft peaks form.
Combine gently: Fold the whipped cream into the mascarpone in batches, being careful not to deflate the mixture.
Chill if needed: If the filling seems too soft, refrigerate for 15-20 minutes before assembling your cake.
Filling Variations to Try:
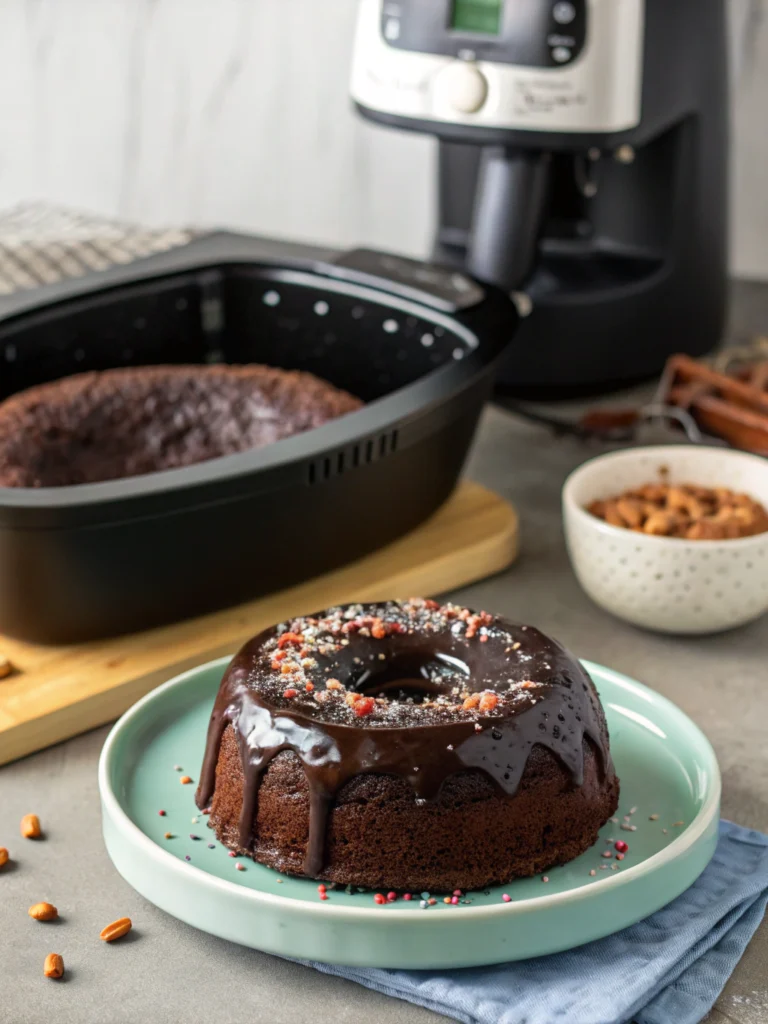
- Chocolate lover’s dream: Add 3 tablespoons of cocoa powder and an extra tablespoon of sugar to the filling.
- Strawberry crepe cake: Fold in ½ cup of strawberry puree (strained to remove seeds) to the filling for a beautiful pink color and fresh flavor.
- Coffee infusion: Dissolve 1 tablespoon of instant espresso powder in 1 tablespoon of hot water, cool, then fold into the filling.
- Lemon brightness: Add 2 tablespoons of lemon zest and 1 tablespoon of lemon juice for a citrusy kick.
The key to a successful crepe cake filling is consistency – it should be stable enough to hold the layers without squishing out the sides, but soft enough to spread easily.
Assembling Your Masterpiece: Crepe Cake Construction
Now comes the fun part – building your crepe cake layer by delicious layer! This is where patience pays off, but the process is actually quite meditative and satisfying.
Assembly Steps:
Start with a stable base: Place your first crepe on a cake stand or serving plate. Some people like to use a small dab of filling underneath to prevent sliding.
Add the first layer of filling: Using an offset spatula, spread about 2 tablespoons of filling evenly over the crepe, going almost to the edge but leaving a tiny border.
Continue the pattern: Place another crepe on top and repeat the filling process. Try to center each crepe as you go.
Keep it level: Every 5 layers or so, stand back and check that your cake is staying level. Gently press down if needed.
Finish with a crepe: Your top layer should be a bare crepe (no filling on top) for a clean finish.
Chill to set: This is crucial! Refrigerate your assembled cake for at least 2 hours (overnight is even better). This allows the filling to firm up and the crepes to meld with the filling.
Tips for Perfect Assembly:
- Keep your filling consistent in thickness for each layer
- If your kitchen is warm, consider chilling the filling halfway through assembly
- For extra stability, refrigerate the cake for 30 minutes halfway through the stacking process
- Use a ruler or measuring tape if you want to check that your layers are evenly distributed
Decorating Your Crepe Cake for Maximum Impact
A beautiful crepe cake deserves a beautiful finish! The decoration is where you can really let your creativity shine.
Classic Finishing Touches:
Dust with powdered sugar: The simplest and most elegant option – just sift powdered sugar over the top right before serving.
Fresh fruit arrangement: Arrange fresh berries in a pattern on top, perhaps with mint leaves for color contrast.
Chocolate ganache drizzle: Pour a thin layer of slightly cooled chocolate ganache over the top, allowing some to artfully drip down the sides.
Whipped cream piping: Use remaining filling to pipe rosettes around the edge.
Creative Decoration Ideas:
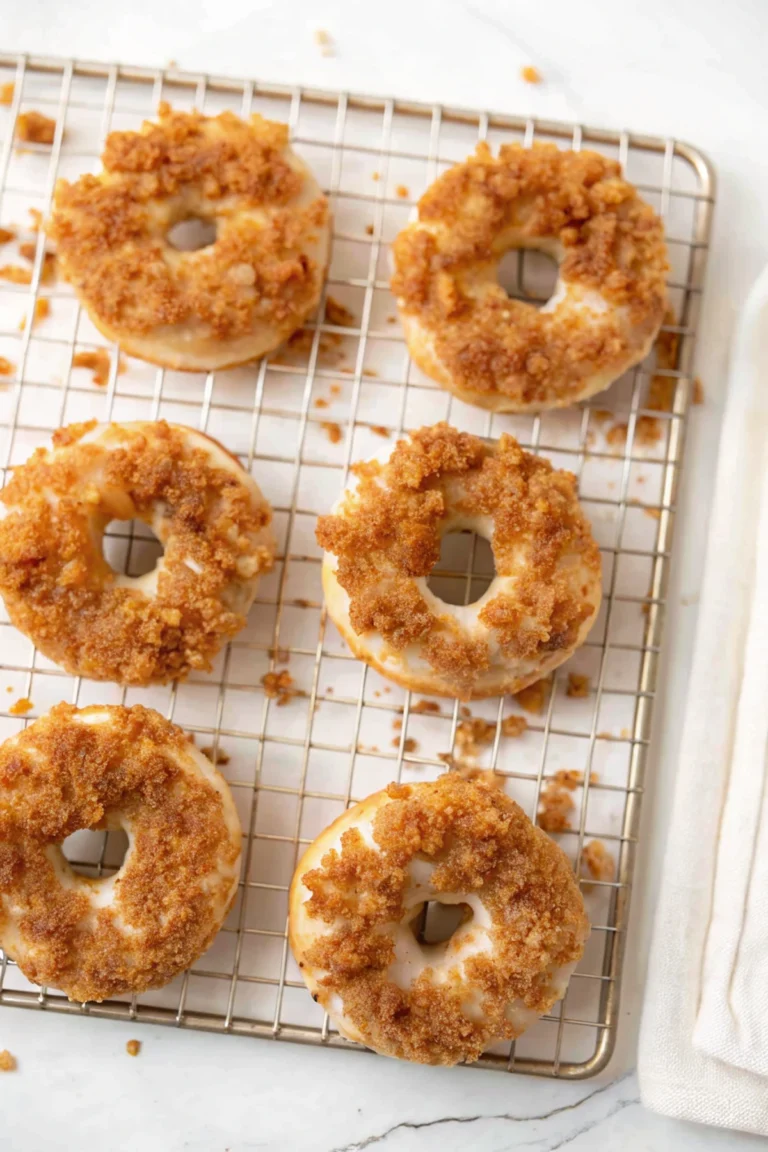
- Cookie crumb border: Press crushed cookies around the sides for texture and flavor
- Caramelized sugar: For a crème brûlée effect, sprinkle sugar on top and use a kitchen torch to create a crisp, caramelized layer
- Edible flowers: For special occasions, garnish with edible flowers for an elegant touch
- Chocolate shavings: Use a vegetable peeler to create chocolate curls for the top
Remember that the cross-section of your crepe cake is already stunning, so don’t feel like you need to go overboard with decoration – sometimes simple is best!
Serving and Storing Your Crepe Cake
After all your hard work, it’s important to know how to properly serve and store your creation.
Perfect Serving Technique:
Use a sharp knife: A serrated knife works best for clean cuts.
Wipe between slices: Clean your knife between each cut for the prettiest slices.
Serve chilled: Crepe cake is best served cold or slightly cool, as the filling will be more stable.
Plate with flair: A sprinkle of additional powdered sugar or a small berry garnish on each plate adds a professional touch.
Storage Guidelines:
Refrigeration: Crepe cake will keep in the refrigerator for up to 3 days. Cover loosely with plastic wrap to prevent the top from drying out.
Freezing: While not ideal, you can freeze crepe cake. Wrap individual slices tightly in plastic wrap, then foil. Thaw in the refrigerator overnight before serving.
Make-ahead options: You can make the crepes and filling 1-2 days in advance, storing the crepes stacked with parchment paper between them, wrapped in plastic wrap in the refrigerator.
Variations on the Classic Crepe Cake
Now that you’ve mastered the basic technique, let’s explore some exciting variations that will keep your crepe cake repertoire fresh and exciting!
Strawberry Crepe Cake
This springtime favorite takes inspiration from the popular strawberry crepe cake at Cookie’s Cake Shop. To create your own version:
Add macerated strawberries: Toss sliced strawberries with a bit of sugar and let sit for 30 minutes. Drain excess liquid and layer a few slices between every few crepe layers.
Infuse the filling: Add strawberry puree to your cream filling for color and flavor.
Create a strawberry topping: Arrange fresh strawberry halves in a circular pattern on top, then brush with warmed strawberry jam for a glossy finish.
Chocolate Hazelnut Crepe Cake
For chocolate lovers, this variation is pure heaven:
Add cocoa to the crepes: Replace 2 tablespoons of flour with cocoa powder in the crepe batter.
Use chocolate hazelnut spread: Alternate layers of your cream filling with thin layers of chocolate hazelnut spread.
Top with ganache: Finish with a dark chocolate ganache and chopped hazelnuts.
Matcha Green Tea Crepe Cake
For something unique and on-trend:
Infuse the crepes: Add 1 tablespoon of high-quality matcha powder to the crepe batter.
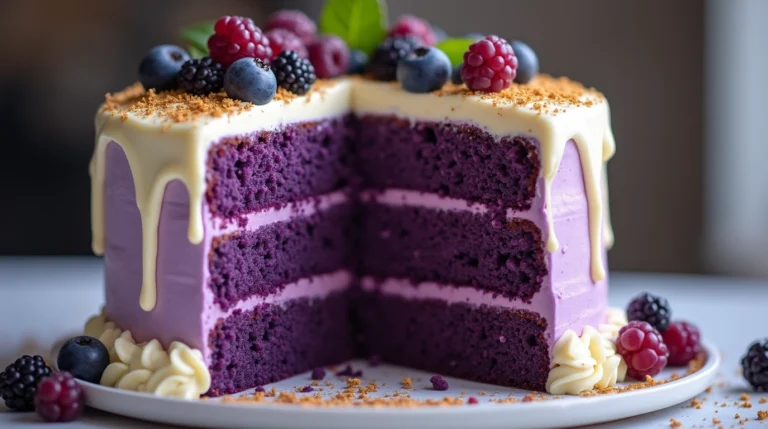
Use white chocolate filling: A white chocolate cream filling pairs beautifully with the earthy matcha flavors.
Dust with matcha: Instead of powdered sugar, dust the top with additional matcha powder.
Seasonal Crepe Cake Ideas:
- Spring: Lemon crepe cake with fresh blueberries
- Summer: Coconut crepe cake with mango filling
- Fall: Pumpkin spice crepe cake with maple cream
- Winter: Gingerbread crepe cake with orange-spiced filling
The beauty of the crepe cake is its versatility – once you master the basic technique, the flavor variations are endless!
Frequently Asked Questions About Crepe Cakes
Can I make crepe cake ahead of time?
Absolutely! In fact, crepe cake often tastes better after the flavors have had time to meld. You can make it up to 2 days ahead and store it covered in the refrigerator. The crepes themselves can be made up to 3 days in advance and stored stacked with parchment paper between them, tightly wrapped.
Why is my crepe cake sliding or leaning?
This usually happens when the filling is too soft or the cake hasn’t been chilled long enough. Make sure your filling is properly whipped to stiff peaks, and always refrigerate your cake for at least 2 hours before serving. If you notice it starting to lean during assembly, refrigerate for 30 minutes halfway through.
Can I freeze crepe cake?
While not ideal, you can freeze crepe cake. Individual slices freeze better than a whole cake. Wrap tightly in plastic wrap, then foil, and freeze for up to 1 month. Thaw overnight in the refrigerator before serving.
How many crepes do I need for a standard crepe cake?
A typical crepe cake has between 20-25 layers. I always recommend making at least 5 extra crepes to account for any tears or imperfections. For a taller, more impressive cake, aim for 30 layers.
My crepes are sticking together in the finished cake. What went wrong?
This could happen if your filling is too thin or if you didn’t let the crepes cool completely before stacking. Make sure your crepes are fully cooled and your filling is properly whipped to
Hungry for more? Check out our top rated recipes :