Table of Contents
Have you ever popped a perfectly bite-sized mini cupcake into your mouth and experienced that moment of pure joy? That perfect ratio of cake to frosting, the way it disappears in just two delightful bites—there’s something magical about mini cupcakes that their full-sized counterparts just can’t match.
As someone who’s spent countless hours perfecting these tiny treats (and cleaning up the inevitable sprinkle explosions), I’m thrilled to share everything I know about creating perfect mini cupcakes in just 15 minutes. Whether you’re preparing for a birthday party, baby shower, or simply satisfying a weeknight sweet tooth, these adorable treats are about to become your new baking obsession.
The beauty of mini cupcakes lies not just in their cuteness, but in their practicality. They bake faster, cool quicker, and offer portion control (though I can’t promise you’ll stop at just one!). So grab your mini cupcake pan and let’s dive into the wonderful world of bite-sized baking!
What You’ll Need for Perfect Mini Cupcakes
Before we get our hands deliciously dirty, let’s round up everything you’ll need to create these tiny treasures:
Essential Equipment
- Mini cupcake pan: The star of our show! A standard mini cupcake pan typically has 24 cups, each about 1.5 inches in diameter.
- Mini cupcake liners: These not only make removal easier but add a decorative touch. Paper liners work great, but foil or silicone options have their perks too.
- Mixing bowls: I recommend having at least two—one for dry ingredients and one for wet.
- Measuring cups and spoons: Precision matters in baking, even for something as forgiving as mini cupcakes.
- Whisk and spatula: For combining ingredients and scraping every last bit of batter.
- Cookie scoop or small spoon: For perfectly portioned mini cupcakes.
- Cooling rack: Helps your mini masterpieces cool evenly.
- Piping bag and tips: Optional but recommended for that bakery-worthy finish.
Basic Ingredients
- 1¼ cups all-purpose flour
- 1¼ teaspoons baking powder
- ¼ teaspoon salt
- ¾ cup granulated sugar
- ½ cup (1 stick) unsalted butter, room temperature
- 2 large eggs, room temperature
- 2 teaspoons vanilla extract
- ½ cup milk, room temperature
- Your favorite frosting (homemade or store-bought—no judgment here!)
The Perfect Mini Cupcake Batter
Creating the ideal batter for mini cupcakes follows similar principles to standard-sized cupcakes, with a few important tweaks to ensure they come out perfectly every time.
Step 1: Prep Your Space and Ingredients
Preheat your oven to 350°F (175°C) and line your mini cupcake pan with those adorable mini cupcake liners. If you’re using a non-stick pan, you can skip the liners, but they do make serving and storage so much easier (plus, they’re just plain cute).
A critical but often overlooked step: Make sure your refrigerated ingredients (butter, eggs, milk) are at room temperature. This helps them incorporate better and creates a smoother batter. If you’re in a hurry (and who isn’t when a cupcake craving strikes?), place cold eggs in warm (not hot) water for 5 minutes, and microwave cold milk for 15-20 seconds.
Step 2: Mix Your Dry Ingredients
In a medium bowl, whisk together your flour, baking powder, and salt. This step isn’t just about combining ingredients—it’s about aerating the flour and ensuring your leavening agents are evenly distributed. Ever had a cupcake with a weird bitter spot? Uneven mixing of baking powder is the likely culprit!
Step 3: Cream Butter and Sugar
In a separate bowl, beat your room temperature butter and sugar until the mixture becomes pale and fluffy, about 2-3 minutes with an electric mixer. This process isn’t just about combining ingredients—it’s creating tiny air pockets that give your mini cupcakes their perfect texture.
I once tried to rush this step when making mini cupcakes for my niece’s birthday party… let’s just say those dense little hockey pucks weren’t exactly the hit of the celebration! Take the time to properly cream your butter and sugar—your mini cupcakes will thank you.
Step 4: Add Eggs and Vanilla
Add your eggs one at a time, beating well after each addition. Then mix in the vanilla extract. If your batter looks slightly curdled at this point, don’t panic! It’ll come together when you add the dry ingredients.
Step 5: Alternate Dry Ingredients and Milk
Here’s where gentle handling becomes important. Add about one-third of your dry ingredient mixture and mix on low speed just until combined. Follow with half the milk, another third of the dry ingredients, the remaining milk, and finish with the last of the dry ingredients. This gradual approach prevents overmixing and develops just enough gluten for the perfect tender crumb.
The final batter should be smooth and drop easily from a spoon, but still thick enough to hold its shape. If it seems too thick, add a tablespoon of milk; if too thin, a tablespoon of flour can help.
Filling Your Mini Cupcake Pan
The secret to perfectly uniform mini cupcakes? The right amount of batter in each cup. I’ve found that filling each mini cupcake liner about ⅔ full yields the best results.
For mess-free filling, I swear by a small cookie scoop (about 1 tablespoon capacity). If you don’t have one, a piping bag works wonderfully too—just snip the end and pipe the batter directly into each liner. In a pinch, two teaspoons (one to scoop, one to scrape) will do the job nicely.
Avoid the temptation to overfill! Mini cupcakes rise significantly during baking, and too much batter leads to the dreaded “mushroom top” effect where they spill over the edges. Trust me, I’ve cleaned enough overflowing mini cupcake pans to learn this lesson the hard way!
Baking Perfect Mini Cupcakes
Here’s where mini cupcakes truly shine—they bake in a flash! Place your filled mini cupcake pan in the preheated 350°F (175°C) oven and set your timer for just 10-12 minutes.
The exact baking time depends on your particular oven and the moisture content of your batter, but I’ve found 11 minutes to be the sweet spot for most of my mini cupcake recipes. You’re looking for lightly golden tops that spring back when gently touched. Another foolproof test: insert a toothpick into the center of a cupcake—it should come out clean or with just a few crumbs clinging to it.
Resist the urge to open the oven door during the first 8 minutes of baking. This critical period is when the cupcakes are developing their structure, and a rush of cool air can cause them to sink in the middle.
Once baked, remove your mini cupcake pan from the oven and let the cupcakes rest in the pan for just 2 minutes. Any longer and they might steam in their cups, leading to soggy bottoms. After this brief rest, transfer them to a cooling rack to cool completely before frosting.
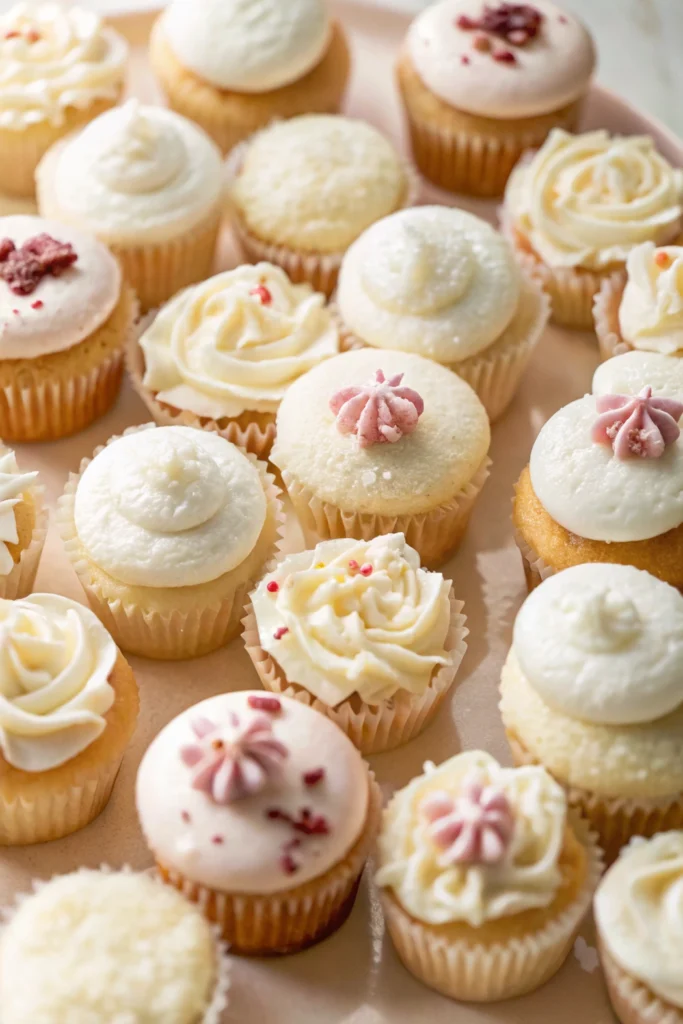
Frosting and Decorating Mini Cupcakes
Let’s talk about the crown jewel of any cupcake: the frosting! While mini cupcakes require less frosting than their full-sized siblings, the frosting-to-cake ratio is actually higher, making each bite a perfect balance of flavors and textures.
Perfect Frosting Options
- Classic Buttercream: The versatile favorite that pipes beautifully and holds its shape.
- Cream Cheese Frosting: Particularly delicious on spiced mini cupcakes like carrot or pumpkin.
- Whipped Ganache: For chocolate lovers, this rich, glossy frosting is heavenly.
- Swiss Meringue Buttercream: Silky, less sweet, and incredibly elegant for special occasions.
- Whipped Cream Frosting: Light and airy, perfect for summer mini cupcakes.
Frosting Techniques for Mini Cupcakes
Mini cupcakes call for scaled-down decorating techniques. For piping, I recommend using smaller tips than you would for standard cupcakes—a small open star tip (#21) or round tip (#12) works beautifully.
If you’re new to piping, mini cupcakes are actually perfect for practicing! Start by applying gentle pressure to your piping bag, pipe a spiral from the outside edge toward the center, and release pressure as you pull up. For a simpler approach, a small offset spatula can create a charming swirl or smooth top.
Remember that with mini cupcakes, less is more. A towering frosting mountain that works on a standard cupcake will overwhelm these petite treats (and your guests’ faces when they try to take a bite!).
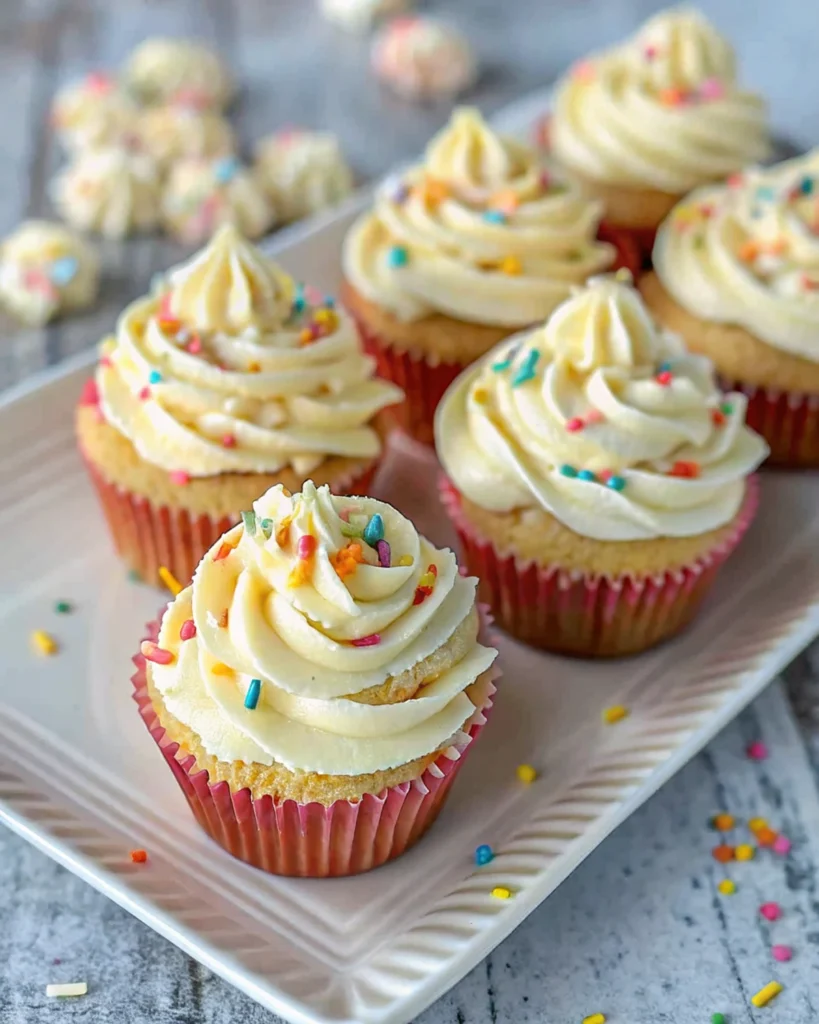
Fun Decorating Ideas
The tiny canvas of a mini cupcake calls for appropriately sized decorations:
- Miniature sprinkles rather than jumbo ones
- Small fondant shapes or flowers
- A single raspberry or blueberry
- Tiny chocolate curls
- A light dusting of colored sugar or cocoa powder
- Mini chocolate chips
- Small candies like Nerds or mini M&Ms
I once created a “garden” of mini cupcakes for a spring brunch, using green-tinted coconut as “grass,” mini cupcakes as “flower pots,” and piped buttercream “flowers.” The entire display fit on a standard cake stand, and guests were absolutely delighted!
Favorite Mini Cupcake Recipes to Try
The mini cupcake format works beautifully with countless flavor combinations. Here are some of my all-time favorites that consistently earn rave reviews:
Classic Vanilla Mini Cupcakes
Sometimes the simplest recipes are the most beloved. For an elevated vanilla mini cupcake, try using vanilla bean paste instead of extract in both the cake and frosting. The tiny flecks of vanilla bean look particularly charming in these petite treats.
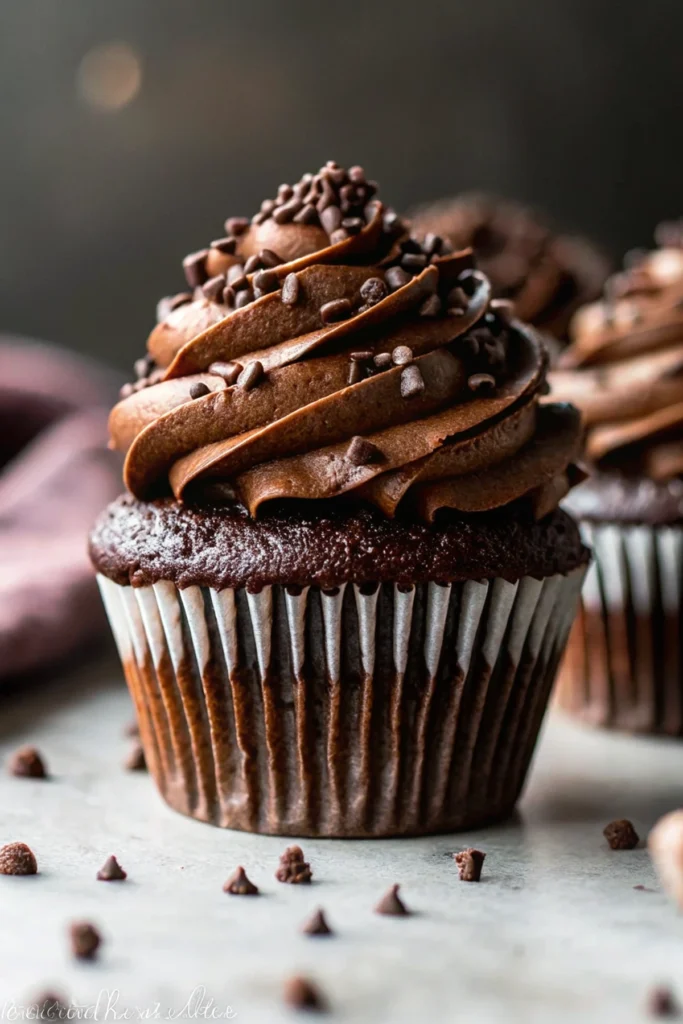
Double Chocolate Mini Cupcakes
Replace ¼ cup of the flour with unsweetened cocoa powder, add ½ cup mini chocolate chips to the batter, and top with chocolate buttercream for an intensely chocolatey experience that satisfies even the most dedicated chocolate lovers.
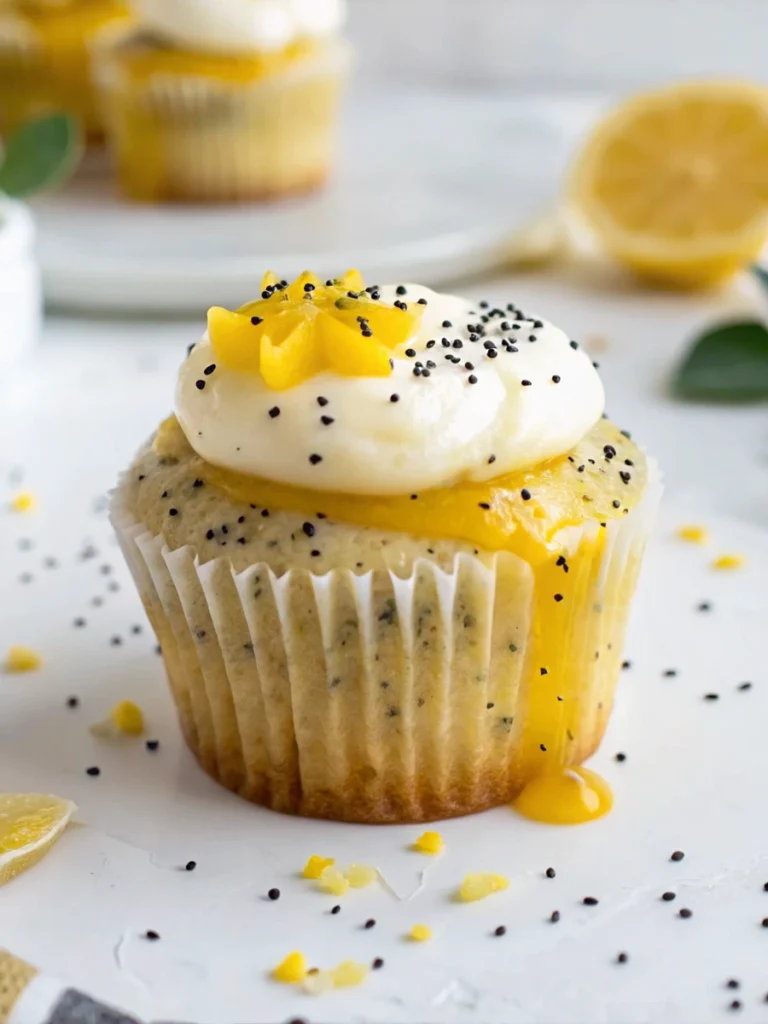
Lemon Poppy Seed Mini Cupcakes
Add 2 teaspoons of lemon zest and 1 tablespoon of poppy seeds to the basic batter, then top with a lemon glaze or cream cheese frosting for a bright, refreshing treat that’s perfect for spring gatherings.
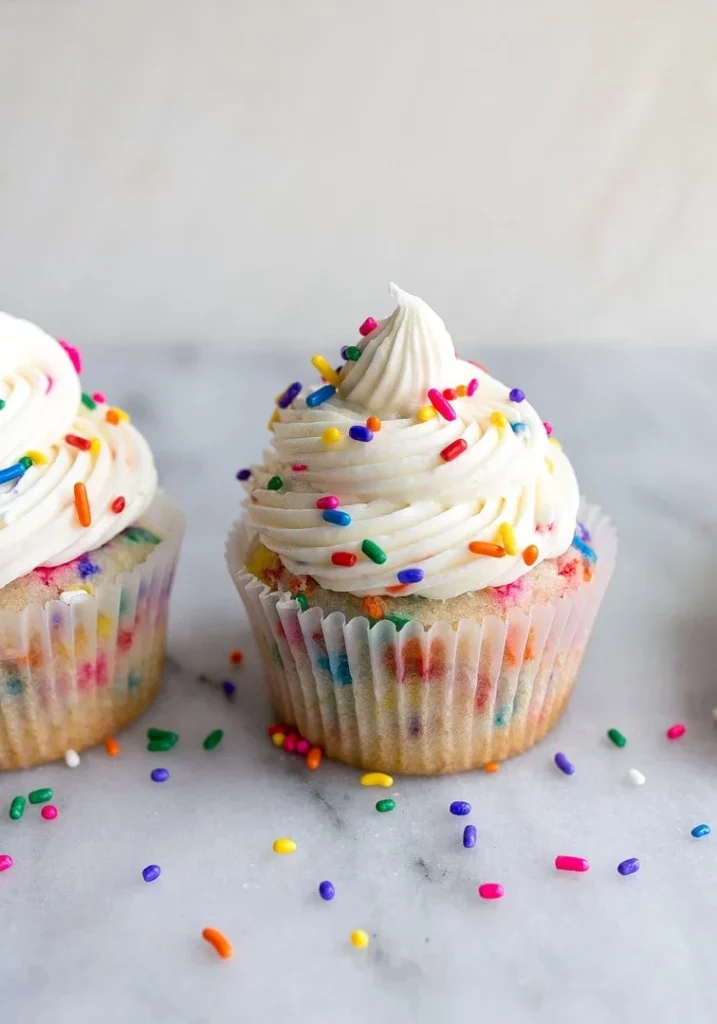
Birthday Cake Mini Cupcakes
Fold ¼ cup of colorful sprinkles into the vanilla batter for a festive confetti effect, then top with vanilla buttercream and more sprinkles. These never fail to bring smiles, regardless of the birthday person’s age!
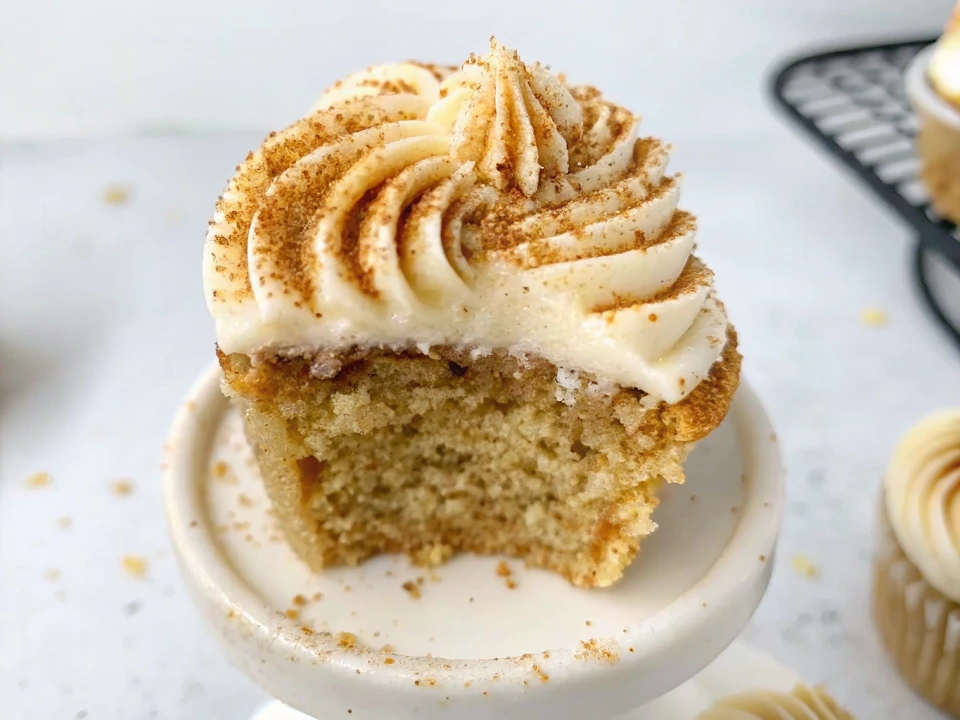
Seasonal Spice Mini Cupcakes
Add 1 teaspoon of cinnamon, ¼ teaspoon of nutmeg, and a pinch of cloves to the basic batter for a warmly spiced treat that’s perfect for fall and winter celebrations. Top with cream cheese frosting and a tiny sprinkle of cinnamon.
Storing and Serving Mini Cupcakes
One of the joys of mini cupcakes is their make-ahead potential. Properly stored, they’ll maintain their delicious freshness for several days:
Room Temperature Storage
Unfrosted mini cupcakes can be stored in an airtight container at room temperature for up to 2 days. Once frosted with buttercream, they’ll stay fresh at cool room temperature (below 70°F) for about 1-2 days. Use a container tall enough that the frosting doesn’t touch the lid.
Refrigerator Storage
Frosted mini cupcakes with perishable toppings like cream cheese frosting or whipped cream should be refrigerated. Place them in an airtight container and bring to room temperature for about 20 minutes before serving for the best flavor and texture.
Freezer Storage
Yes, you can freeze mini cupcakes! Unfrosted mini cupcakes freeze beautifully for up to 2 months. Place them in a single layer in a freezer-safe container, separated by parchment if you need to stack them. Thaw at room temperature for about an hour before frosting and serving.
I often bake mini cupcakes in advance of big gatherings, freeze them unfrosted, then thaw and decorate the day of the event. It’s a wonderful time-saver that doesn’t compromise quality.
Troubleshooting Common Mini Cupcake Problems
Even experienced bakers encounter hiccups! Here are solutions to the most common mini cupcake challenges:
Sinking Centers
This usually happens when cupcakes are underbaked or when the oven door is opened too early in the baking process. Make sure your oven is fully preheated before baking, and resist peeking during the first 8 minutes of bake time.
Dry, Crumbly Texture
Overbaking is the usual culprit here. Mini cupcakes require significantly less time than standard cupcakes—just 10-12 minutes is typically enough. Another possibility is too much flour; make sure you’re measuring correctly by spooning flour into your measuring cup and leveling it off, rather than scooping directly from the bag.
Sticking to Liners
This can happen with lower-fat recipes or when cupcakes are still warm. Allow mini cupcakes to cool completely before attempting to unwrap them. For very moist recipes, consider using foil liners or spraying paper liners lightly with non-stick spray.
Uneven Baking
If your mini cupcakes are consistently baking unevenly, your oven might have hot spots. Rotate the pan halfway through baking to help ensure even heat distribution. Also, avoid overcrowding your oven—baking multiple pans at once can disrupt air circulation.
Flat Tops Instead of Domes
While not necessarily a problem (flat tops are easier to frost!), if you prefer domed mini cupcakes, check your baking powder’s freshness. Baking powder loses potency over time, so replace it every 6-12 months for optimal leavening power.
Frequently Asked Questions
How many mini cupcakes does one regular cupcake recipe make?
A standard cupcake recipe that yields 12 regular cupcakes will typically make about 36 mini cupcakes. The ratio is roughly 3:1, though this can vary slightly depending on how full you fill each cavity.
Can I use a regular cupcake recipe for mini cupcakes?
Absolutely! Any standard cupcake recipe works beautifully for mini cupcakes. The only adjustment needed is the baking time—mini cupcakes bake in about half the time of regular cupcakes.
What size are mini cupcake liners?
Standard mini cupcake liners are approximately 1¼ inches in diameter at the base and flare to about 2 inches at the top. They’re designed to fit perfectly in mini cupcake pans, which have cavities about 1½ inches in diameter.
How do I transport mini cupcakes safely?
Mini cupcake carriers are available, but in a pinch, a shallow box lined with non-slip shelf liner works well. Place the frosted mini cupcakes close together so they support each other, but not so close that the frostings touch. For longer trips, consider refrigerating them briefly to firm up the frosting before transport.
How far in advance can I make mini cupcakes for an event?
Unfrosted mini cupcakes can be made 1-2 days in advance and stored in an airtight container at room temperature, or frozen for up to 2 months. It’s best to frost them the day of or the day before your event for the freshest taste and appearance.
What’s the best way to display mini cupcakes at a party?
Mini cupcakes shine on tiered stands, which maximize space and create a beautiful presentation. For a creative touch, try arranging them in a spiral or heart shape on a flat serving tray, or use mini cupcake wrappers in coordinating colors with your event theme.
Time to Start Baking!
Mini cupcakes bring outsized joy despite their tiny stature. There’s something undeniably charming about these bite-sized treats that makes them perfect for virtually any occasion—from elegant bridal showers to raucous kids’ parties and everything in between.
The beauty of mini cupcakes lies not just in their adorable appearance but in their versatility and approachability. You can bake a perfect batch in just 15 minutes, experiment with countless flavor combinations, and create impressive displays without advanced decorating skills.
I’d love to hear about your mini cupcake adventures! What flavor combinations have you tried? Do you have any decorating tips to share? Or perhaps you’ve discovered a genius way to transport these delicate treats? Drop a comment below and join our community of mini cupcake enthusiasts.
And remember, when it comes to baking, precision matters—but joy matters more. So don’t stress if your first batch isn’t picture-perfect. Each mini cupcake is a tiny canvas for your creativity, and practice makes progress. Happy baking, friends!
Hungry for more? Check out our top rated recipes :