Table of Contents
There’s something magical about homemade ice cream that store-bought just can’t match. That first spoonful of silky, personalized perfection you’ve created yourself? Absolutely priceless. When I first unboxed my Ninja Creami, I had no idea this compact machine would completely revolutionize dessert time in my household. Gone are the days of ice cream makers that require pre-freezing bowls or complicated churning – this little powerhouse transforms simple ingredients into creamy delights with minimal effort.
Whether you’re a Ninja Creami newbie or looking to expand your frozen treat repertoire, you’re in for a treat (pun absolutely intended). I’ve spent countless hours experimenting with my Creami, sometimes failing spectacularly (ask me about the “Great Peanut Butter Explosion of 2022”), but mostly creating desserts that have my family and friends begging for recipes.
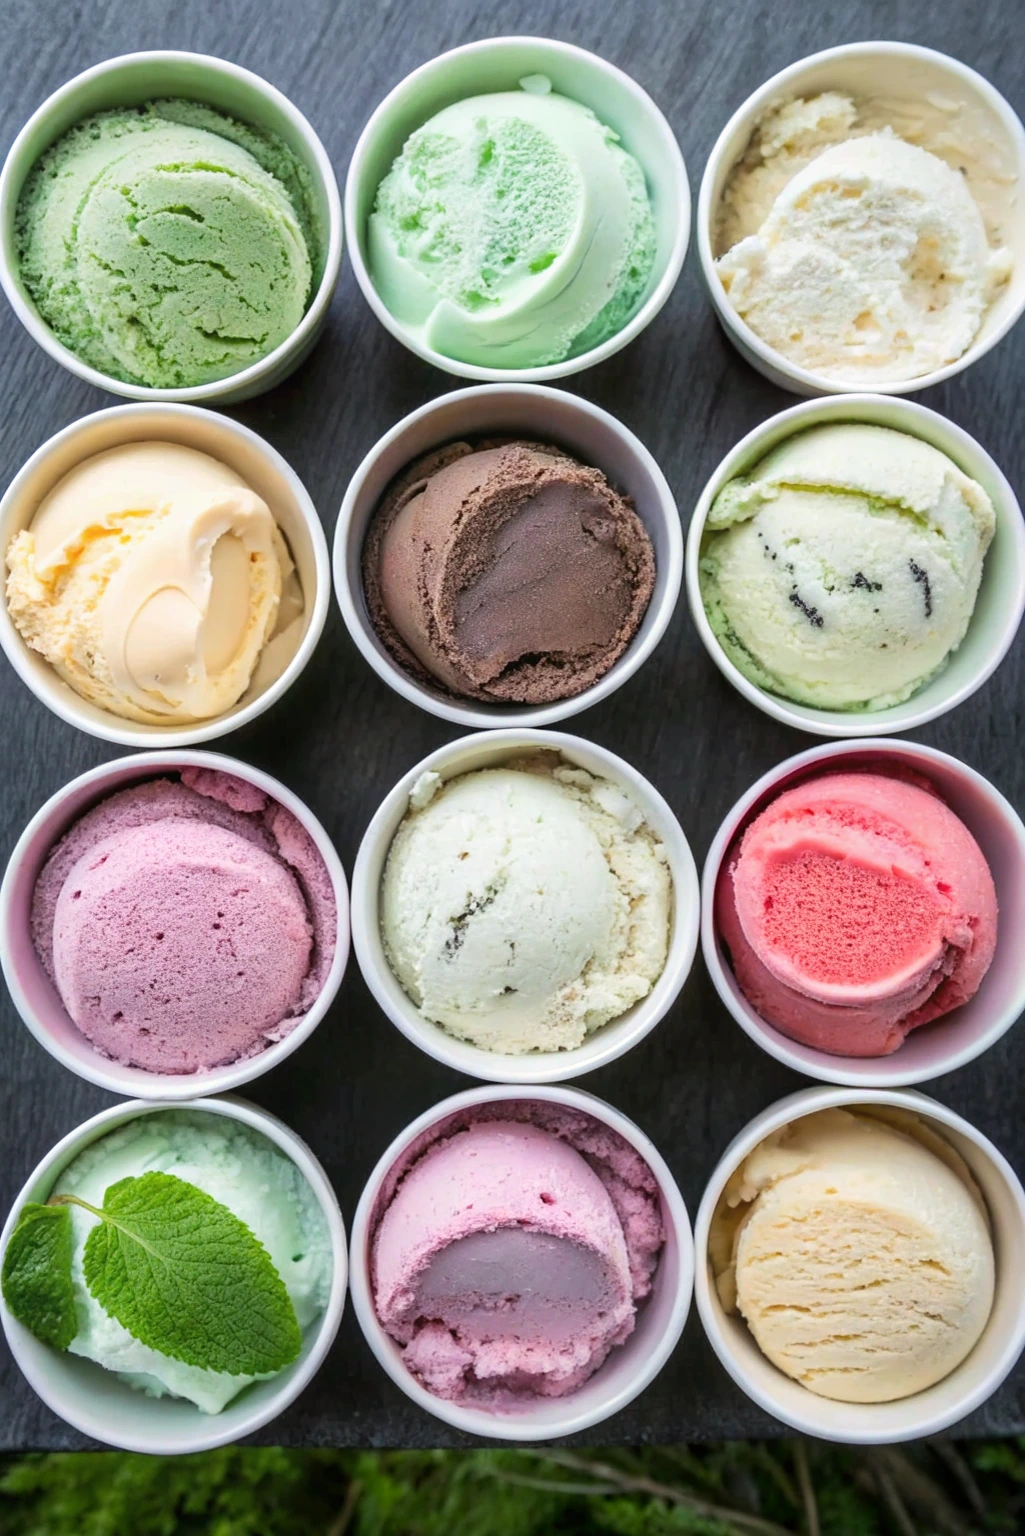
In this comprehensive guide, we’ll explore everything from basic vanilla ice cream that rivals your favorite premium brands to protein-packed options that make post-workout treats actually nutritious. I’ll walk you through exactly what makes Ninja Creami recipes work, troubleshoot common issues, and share the little tweaks that elevate your creations from good to “I can’t believe you made this at home!”
Let’s dive spoon-first into a world of creamy possibilities!
Understanding Your Ninja Creami: The Basics
Before we jump into specific Ninja Creami recipes, let’s take a moment to understand what makes this machine so special. Unlike traditional ice cream makers that churn as they freeze, the Ninja Creami works with already-frozen mixtures. This seemingly small difference is actually revolutionary for homemade frozen treats.
The Creami uses a unique “creamifying” technology that breaks down frozen blocks into smooth, scoopable desserts. You’ll prepare your mixture, freeze it for 24 hours, and then let the Creami work its magic. This approach gives you incredible texture control and the ability to make everything from ice cream and gelato to sorbets and milkshakes.
What I love most is how the Creami lets you customize sweetness levels and ingredients. Store-bought ice cream typically contains stabilizers, emulsifiers, and more sugar than necessary. With your Creami, you’re in complete control – perfect for dietary restrictions or just personal preference.
Essential Equipment for Ninja Creami Success
Your Ninja Creami comes with specialized pints designed specifically for the machine. While it might be tempting to use other containers, stick with the originals – they’re designed with specific dimensions that allow the spinning blade to properly process your frozen mixture.
Beyond the machine itself, you’ll need:
- Measuring cups and spoons for precise measurements
- A sturdy whisk for thoroughly combining ingredients
- Silicone spatulas for scraping down bowls and pints
- A digital food scale for more precise recipes (especially helpful for protein-based recipes)
Now that we’re acquainted with the machine, let’s dive into the recipes that will have you falling in love with your Ninja Creami all over again!
Classic Vanilla Ninja Creami Ice Cream Recipe
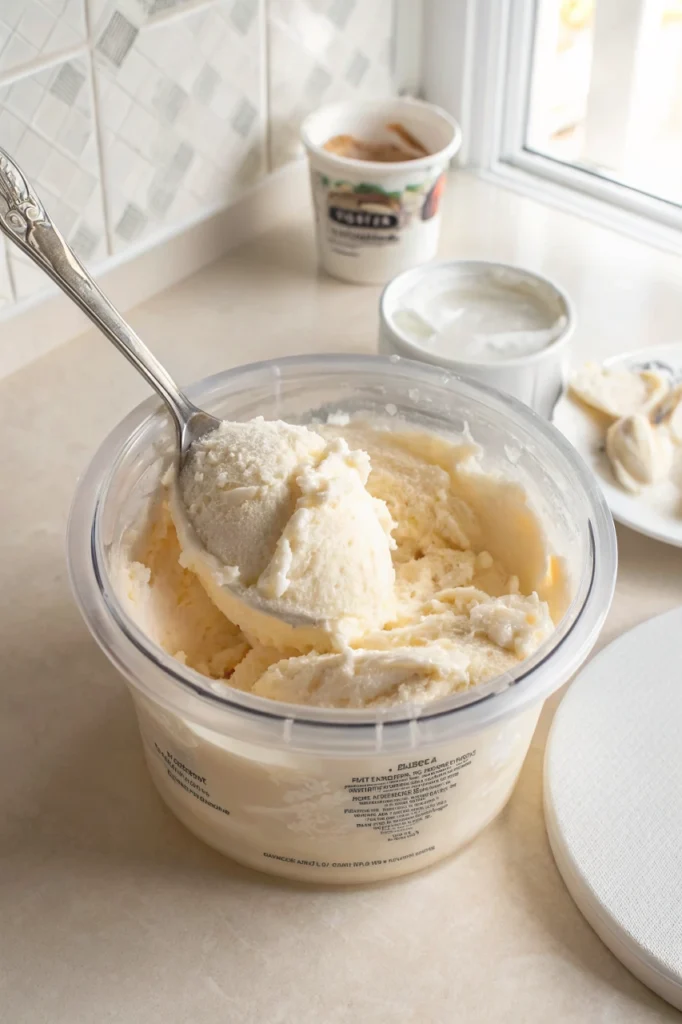
There’s a reason vanilla remains the world’s most popular ice cream flavor – it’s simple yet sophisticated, versatile, and utterly delicious. Mastering a vanilla Ninja Creami recipe gives you the perfect base for countless variations.
Ingredients
- 1½ cups heavy cream
- ½ cup whole milk
- ⅓ cup granulated sugar
- 2 teaspoons pure vanilla extract
- Pinch of salt
Step-by-Step Instructions
Combine the liquids: In a medium bowl, whisk together the heavy cream, milk, and vanilla extract until well combined.
Add dry ingredients: Gradually whisk in the sugar and salt until completely dissolved. I find that warming the mixture slightly helps the sugar dissolve better, but it’s not necessary.
Prepare for freezing: Pour the mixture into a clean Ninja Creami pint container, leaving about ½-inch of space at the top for expansion. Secure the lid tightly.
Freeze thoroughly: Place the pint in the freezer in an upright position for at least 24 hours. This complete freezing is crucial for proper processing.
Process in your Creami: Remove the pint from the freezer, remove the lid, and place it in your Ninja Creami. Select the “Ice Cream” function and let the machine work its magic.
Re-spin if needed: If your ice cream isn’t completely smooth after the first cycle, use the Re-spin function. For extra creaminess, let the processed ice cream sit at room temperature for 1-2 minutes, then Re-spin.
Serve or store: Enjoy immediately for the perfect consistency or transfer to a freezer-safe container if saving for later.
My vanilla Ninja Creami recipe creates the perfect canvas for mix-ins like chocolate chips, cookie dough, or fruit. Pro tip: After the initial processing, add your mix-ins, then use the Mix-in function for perfect distribution.
Healthy Ninja Creami Recipes for Guilt-Free Indulgence
One of the biggest benefits of making ice cream at home is controlling what goes into it. These healthy Ninja Creami recipes prove that “nutritious” and “delicious” aren’t mutually exclusive.
Banana-Based Vanilla Nice Cream
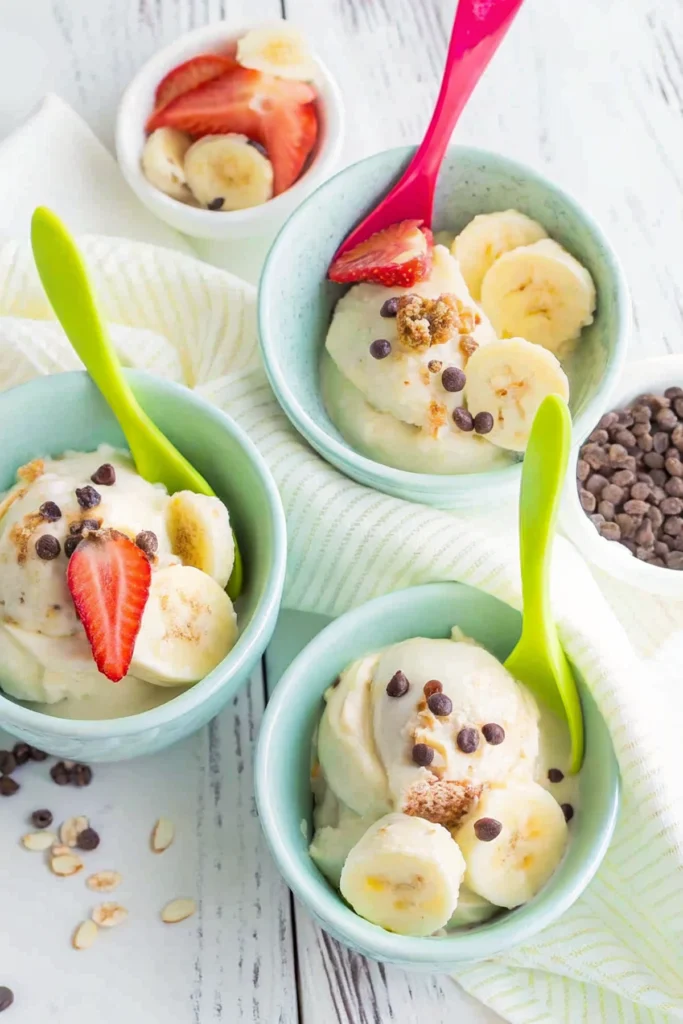
This dairy-free option uses nature’s ice cream base – bananas!
Ingredients
- 2 ripe bananas, sliced and frozen
- ¼ cup unsweetened almond milk
- 1 teaspoon vanilla extract
- 1 tablespoon maple syrup (optional)
- Pinch of salt
Instructions
- Blend all ingredients until smooth
- Freeze in Creami pint for 24 hours
- Process using the “Sorbet” setting
- Re-spin if needed for creamier texture
Greek Yogurt Berry Swirl
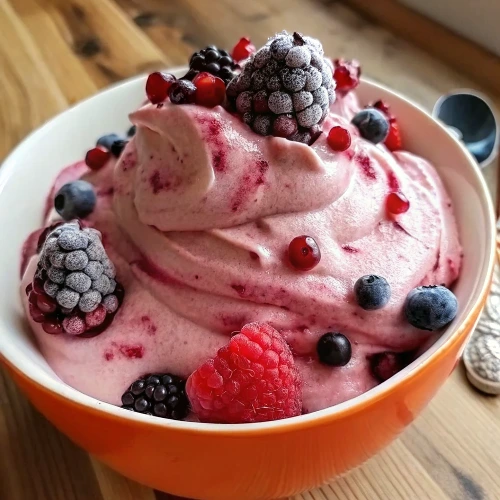
Protein-packed and perfectly tangy!
Ingredients
- 1½ cups plain Greek yogurt (2% or full-fat works best)
- ¼ cup honey or maple syrup
- 1 teaspoon vanilla extract
- ½ cup fresh berries (strawberries, blueberries, or raspberries)
- 1 tablespoon lemon juice
Instructions
- Mix yogurt, sweetener, and vanilla
- Blend berries with lemon juice separately
- Layer yogurt mixture and berry puree in Creami pint
- Freeze for 24 hours
- Process using the “Lite Ice Cream” setting
- Use a spoon to gently swirl if desired
Creating healthy Ninja Creami recipes doesn’t mean sacrificing flavor. The key is using ingredients with natural creaminess like bananas, avocados, or full-fat yogurt as your base.
Protein-Packed Ninja Creami Ice Cream Recipes
For fitness enthusiasts or anyone looking to boost their protein intake, the Ninja Creami is a game-changer. These protein-rich recipes make post-workout treats actually beneficial.
Chocolate Protein Dream
Ingredients
- 1 cup unsweetened almond milk
- 1 scoop (about 30g) chocolate protein powder
- 1 tablespoon cocoa powder
- 2 tablespoons Greek yogurt
- 1-2 tablespoons honey or sweetener of choice
- ¼ teaspoon xanthan gum (helps with texture)
- Pinch of salt
Instructions
- Blend all ingredients until completely smooth
- Pour into Creami pint and freeze for 24 hours
- Process using the “Gelato” setting
- Re-spin if needed for optimal texture
Vanilla Protein Ice Cream Recipe
The Ninja Creami vanilla ice cream recipe gets a protein boost in this fitness-friendly version:
Ingredients
- 1 cup cashew milk (or milk of choice)
- 1 scoop vanilla protein powder
- 2 tablespoons Greek yogurt
- 1 tablespoon honey
- 1 teaspoon vanilla extract
- ¼ teaspoon xanthan gum
- Pinch of salt
Instructions
- Combine all ingredients in a blender
- Process until completely smooth
- Pour into Creami pint and freeze
- Use “Ice Cream” function to process
- Enjoy immediately for best texture
The secret to great protein Ninja Creami recipes is balancing protein powder with enough fat to create creaminess. Too much protein without fat results in a chalky texture. Greek yogurt, nut butters, or avocado add the necessary creaminess while keeping things nutritious.
Dairy-Free Ninja Creami Recipes
Whether you’re lactose intolerant, vegan, or simply reducing dairy, these dairy-free Ninja Creami recipes deliver amazing creaminess without any milk products.
Coconut Milk Chocolate Ice Cream
Ingredients
- 1 can (13.5 oz) full-fat coconut milk
- 3 tablespoons cocoa powder
- ¼ cup maple syrup
- 1 teaspoon vanilla extract
- Pinch of salt
Instructions
- Whisk all ingredients until smooth
- Pour into Creami pint and freeze
- Process using “Ice Cream” function
- For extra richness, add 1 tablespoon coconut oil to the mixture
Almond Milk Strawberry Sorbet
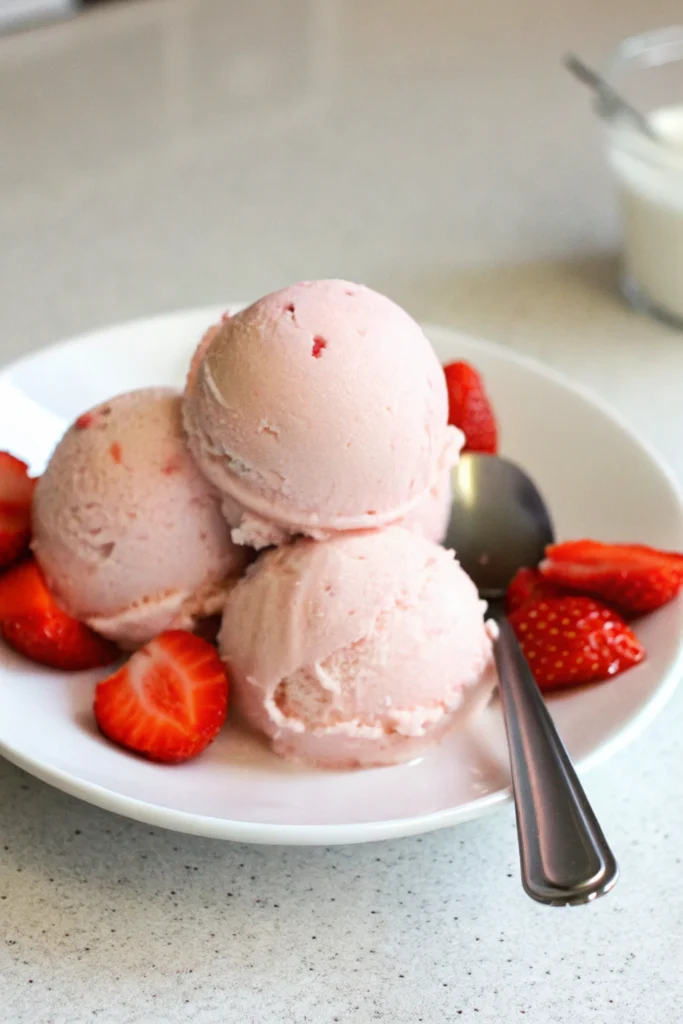
Ingredients
- 1 cup unsweetened almond milk
- 2 cups fresh strawberries, hulled
- 3 tablespoons honey or agave
- 1 tablespoon lemon juice
- ¼ teaspoon vanilla extract
Instructions
- Blend all ingredients until smooth
- Pour into Creami pint and freeze
- Process using “Sorbet” function
- For best texture, let sit 1-2 minutes before serving
The key to successful dairy-free Ninja Creami recipes is using alternative milks with higher fat content like coconut or cashew milk. If using lower-fat alternatives like almond milk, adding a tablespoon of neutral oil helps achieve that creamy mouthfeel.
Troubleshooting Your Ninja Creami Recipes
Even the most experienced Creami users encounter occasional issues. Here’s how to solve common problems:
Too Icy or Crumbly Texture
This usually happens when there’s not enough fat or your mixture isn’t fully frozen.
- Solution: Let the processed dessert soften slightly, then re-spin
- Prevention: Add more fat to your base (cream, coconut milk, etc.)
- Try the “Gelato” function instead of “Ice Cream”
Too Soft or Not Freezing Properly
- Ensure your freezer is cold enough (0°F/-18°C or colder)
- Freeze for at least 24 hours
- Don’t overfill the pints – leave room for expansion
Machine Struggling to Process
- Make sure the mixture is evenly frozen
- Don’t add too many solid mix-ins to the base
- Try processing in 30-second intervals if it’s very hard
With any Ninja Creami recipe, remember that the texture continues developing even after processing. If your dessert seems too firm, let it sit at room temperature for 2-3 minutes before serving.
Creative Ninja Creami Recipe Variations
Once you’ve mastered the basics, it’s time to get creative! Here are some delicious variations to try:
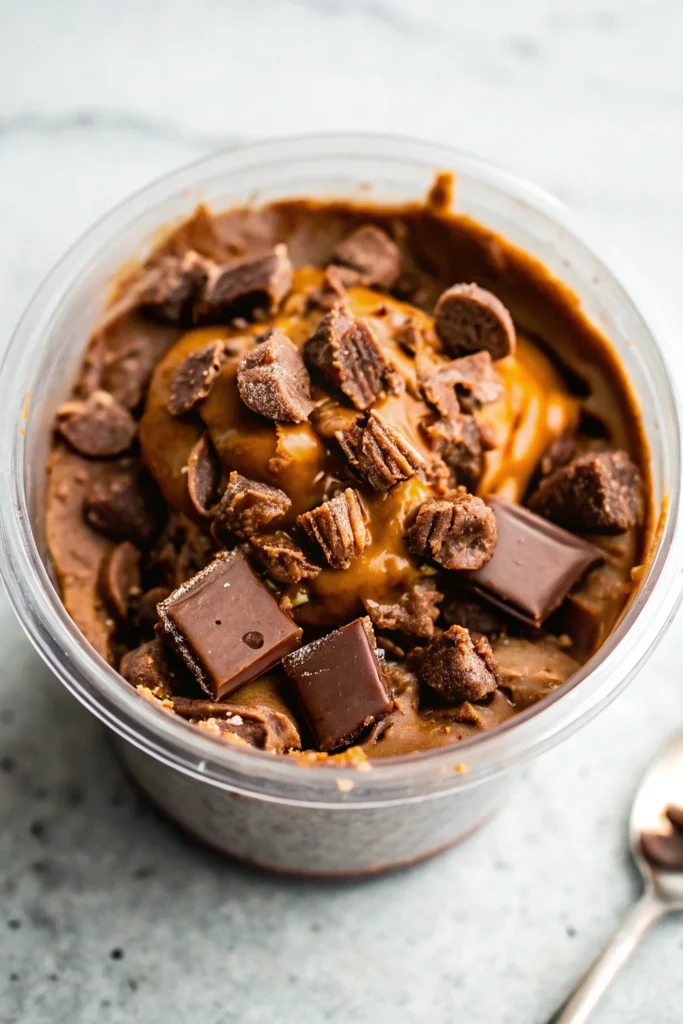
Cookie Butter Swirl
Add 3 tablespoons of cookie butter to your vanilla base after processing, then use the Mix-in function.
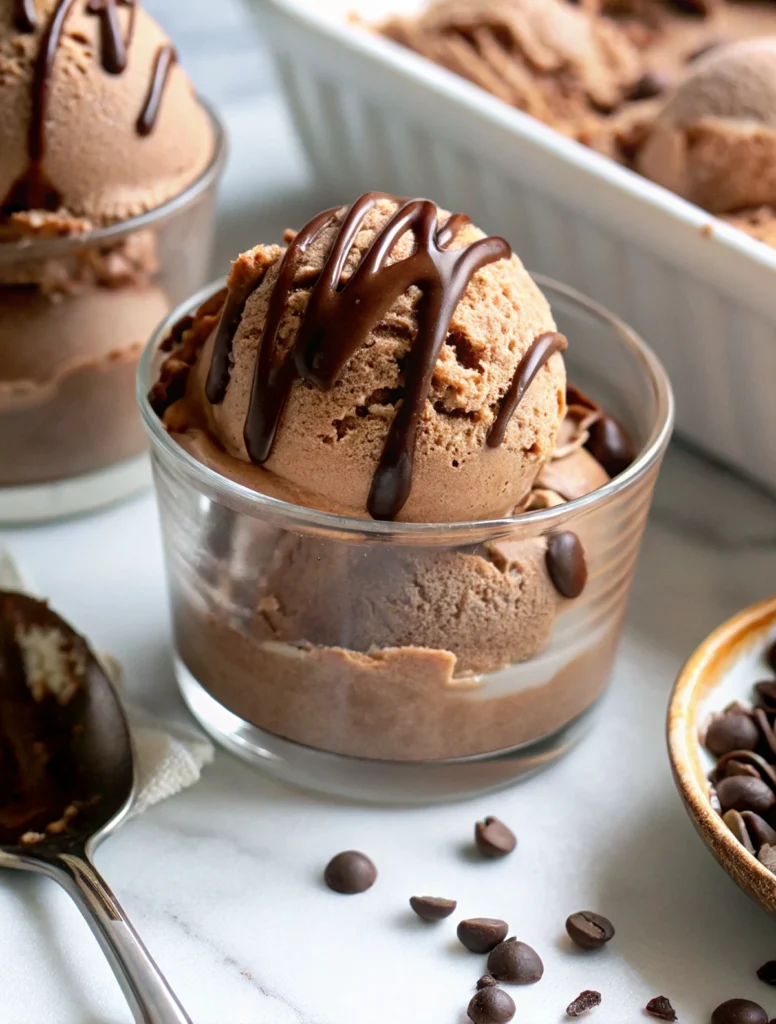
Cold Brew Coffee Chip
Add 2 tablespoons of cold brew concentrate and ¼ teaspoon espresso powder to your base, then mix in chocolate chips after processing.
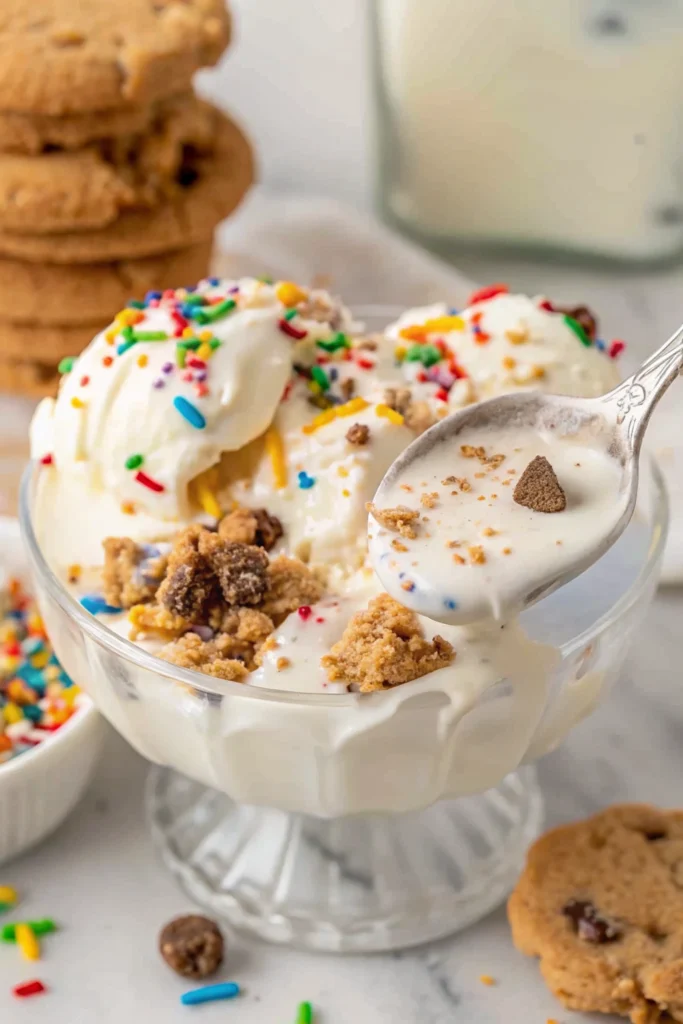
Birthday Cake
Add ½ teaspoon almond extract and 2 tablespoons sprinkles to your vanilla Ninja Creami recipe.
Mint Chocolate Chip
Add ¼-½ teaspoon peppermint extract to your base and mix in chocolate chips after processing.
The beauty of Ninja Creami recipes is their versatility. Once you understand the basic ratios of fat to liquid to sweetener, the possibilities are endless!
Storing and Serving Tips for Ninja Creami Recipes
For the best experience with your Ninja Creami ice cream recipes:
- Homemade ice cream is best consumed within 1-2 weeks
- Store in the Creami pints or transfer to airtight containers
- Place plastic wrap directly on the surface to prevent ice crystals
- Let frozen leftovers sit at room temperature for 5 minutes before serving
- For scoopable texture straight from the freezer, add 1-2 tablespoons of alcohol to your base (won’t freeze solid)
Remember that homemade ice cream without commercial stabilizers will naturally be a bit softer than store-bought and may freeze harder over time.
Frequently Asked Questions About Ninja Creami Recipes
Do I need to use the Ninja Creami pints or can I use different containers?
For best results, always use the official Ninja Creami pints. They’re specifically designed for the machine’s dimensions and processing capabilities.
Why does my Ninja Creami ice cream get icy after being in the freezer?
Homemade ice cream naturally forms ice crystals over time. Adding fat, a small amount of alcohol, or commercial ice cream stabilizer can help prevent this.
Can I use any protein powder in Ninja Creami recipes?
Yes, but whey and casein tend to produce creamier results than plant-based proteins. If using plant protein, add extra fat to improve texture.
How can I make my healthy Ninja Creami recipes creamier?
The secret is fat! Even healthy recipes need some fat for proper texture. Try adding avocado, coconut cream, or a tablespoon of nut butter.
What if I don’t have 24 hours to freeze my mixture?
While 24 hours is optimal, a minimum of 12 hours in a very cold freezer can work. The mixture must be completely frozen solid for proper processing.
Can I make smaller batches in my Ninja Creami?
The machine is designed for the full pint. Making smaller amounts may result in inadequate processing, so it’s best to make full recipes.
Your Ninja Creami Recipe Adventure Awaits!
From classic vanilla Ninja Creami ice cream recipes to protein-packed fitness treats, this versatile machine opens up a world of frozen possibilities. What I love most about my Creami is how it’s transformed dessert time in my home – we now create exactly what we’re craving with ingredients we feel good about.
Remember that perfecting your Ninja Creami recipes may take some experimentation. Don’t be discouraged if your first few attempts aren’t perfect! Each machine has slight variations, and you’ll quickly learn what works best for yours.
I’d love to hear about your Ninja Creami adventures! What flavors have you created? Any surprising ingredient combinations that worked wonderfully? Share your experiences in the comments below, or tag me in your creamy creations on social media.
Now grab those ingredients, fire up your Creami, and get ready to impress yourself (and anyone lucky enough to get a taste) with your homemade frozen masterpieces!
Hungry for more? Check out our top rated recipes :