Table of Contents
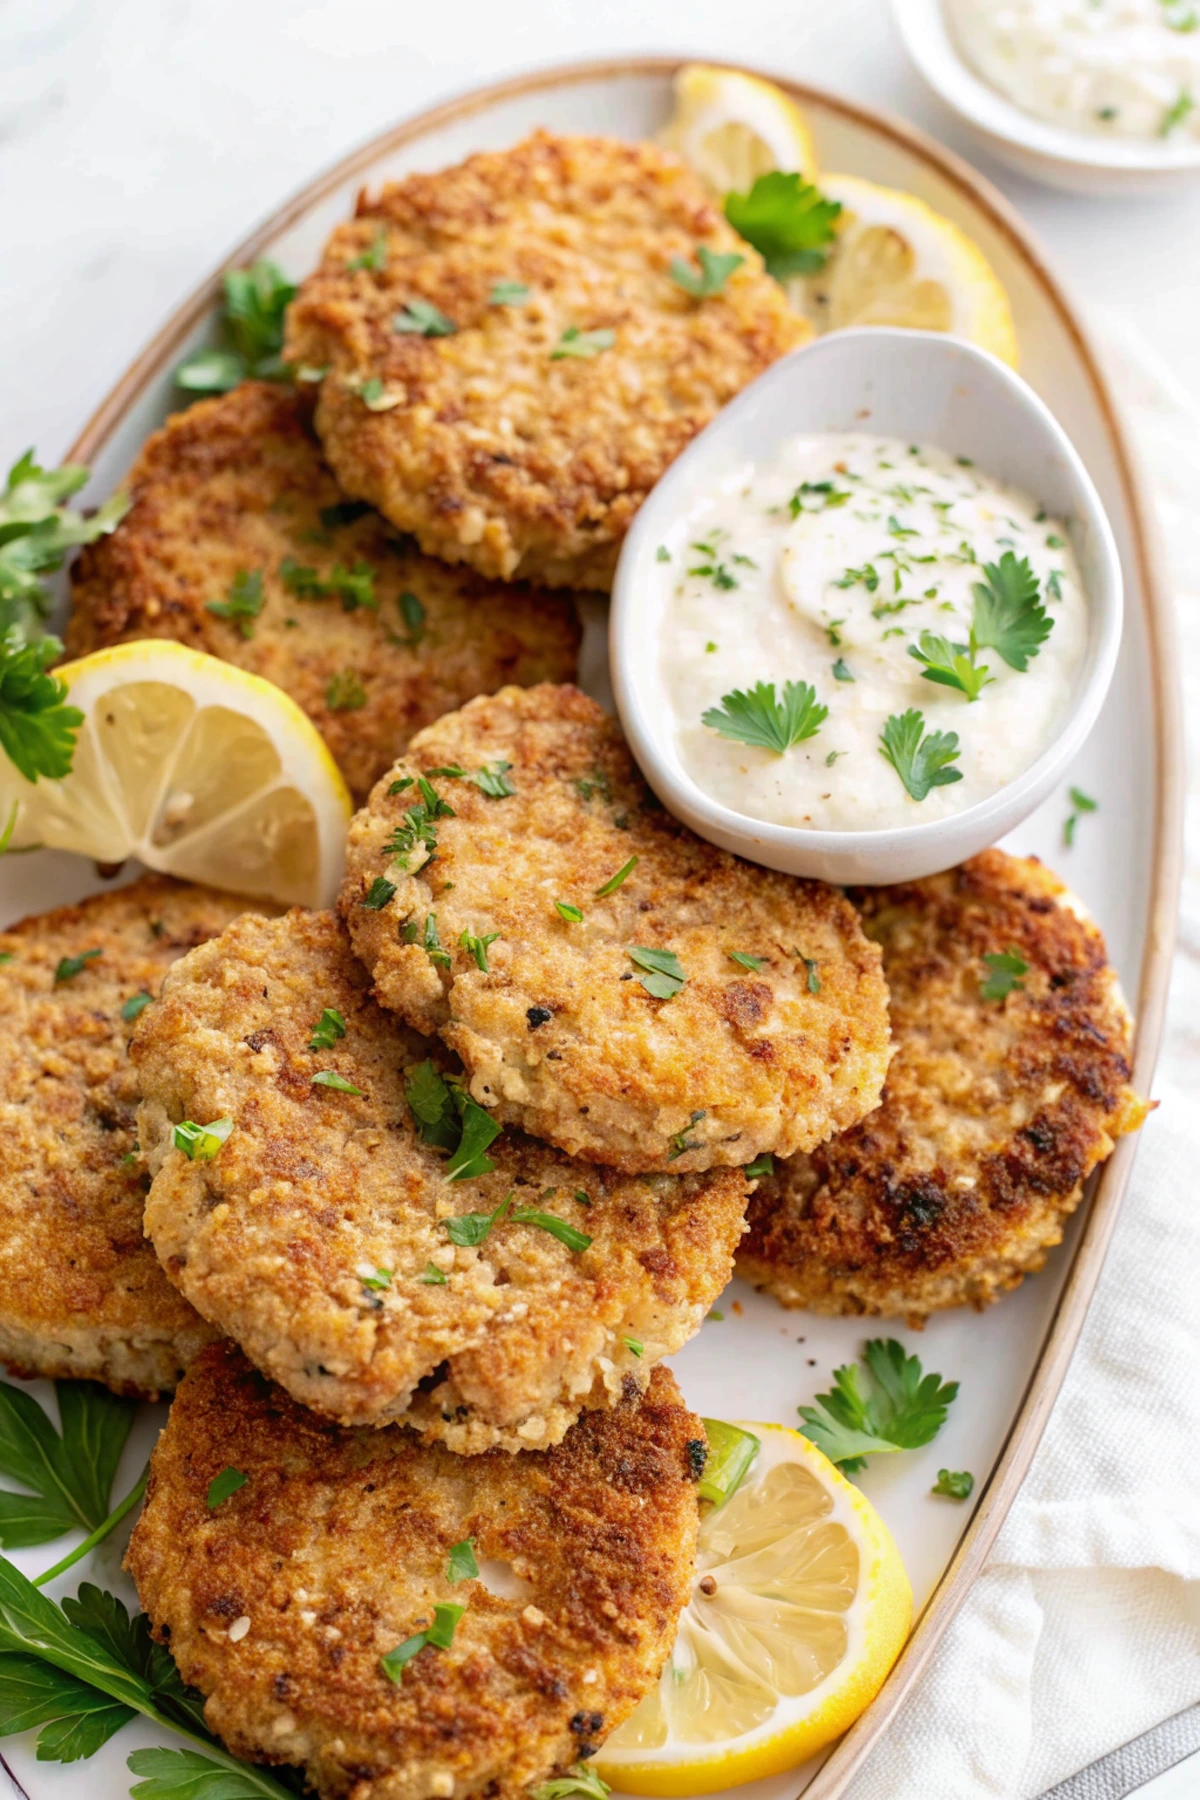
There’s something magical about transforming a humble can of tuna into golden, crispy tuna patties that disappear from the dinner table in minutes. As a mom of three with a perpetually busy schedule, I’ve relied on this recipe countless times when the clock strikes 5 PM and I’m staring blankly into my pantry. These tuna patties have saved dinner in my household more times than I can count, and they’ve gone from “emergency meal” to “highly requested favorite” over the years.
What makes these tuna patties special isn’t just their simplicity—it’s how they manage to be both comforting and sophisticated at the same time. With a crispy exterior giving way to a tender, flavorful center, they satisfy that craving for something both nourishing and indulgent. The best part? You probably have everything you need to make them right now.
Let’s dive into this weeknight wonder that proves delicious meals don’t require complicated ingredients or hours in the kitchen.
Why You’ll Love These Tuna Patties
If you’re on the fence about tuna patties, I’m here to convert you! These golden discs of goodness have some serious advantages:
- Pantry-Friendly: Made primarily with shelf-stable ingredients you likely already have
- Budget-Conscious: Feeds a family of four for under $10
- Quick and Easy: From start to finish in about 25 minutes
- Versatile: Enjoy them as a sandwich, over salad, or as a main with sides
- Kid-Approved: Even picky eaters tend to gobble these up
- Protein-Packed: Each patty delivers a hearty dose of protein
- Freezer-Friendly: Make a double batch and freeze for later
Whether you’re cooking for a family or meal prepping for one, these tuna patties adapt to your needs. They’re the perfect healthy tuna patties for busy weeknights when you need dinner on the table with minimal fuss.
Ingredients You’ll Need
The beauty of tuna patties lies in their simplicity. Here’s what you’ll need to gather:
Base Ingredients:
- 2 (5-ounce) cans of chunk light tuna in water, drained
- 1 cup breadcrumbs (Panko works wonderfully for extra crispiness)
- 2 large eggs, lightly beaten
- 1/4 cup mayonnaise
- 1/4 cup finely diced red bell pepper
- 1/4 cup finely diced celery
- 2 tablespoons finely chopped fresh parsley
- 2 tablespoons finely diced red onion or shallot
- 1 tablespoon Dijon mustard
- 2 teaspoons lemon zest
- 1 tablespoon fresh lemon juice
- 1/4 teaspoon salt
- 1/4 teaspoon black pepper
- 2-3 tablespoons olive oil for frying
For Serving (Optional):
- Lemon wedges
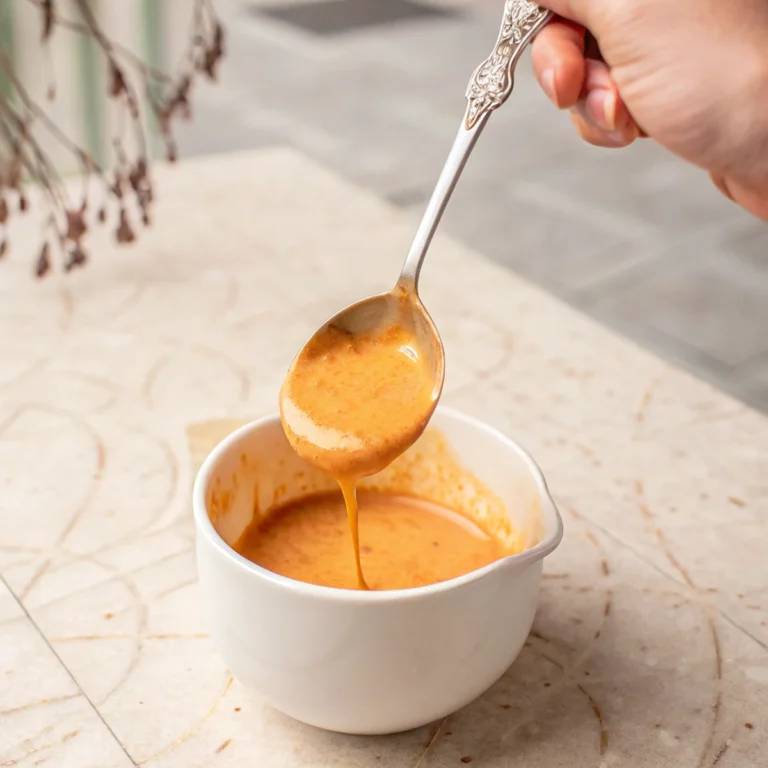
- Tartar sauce or sriracha mayo
- Fresh herbs for garnish
Equipment Needed
Nothing fancy required here! Just gather:
- Medium mixing bowl
- Fork for flaking tuna
- Measuring cups and spoons
- Large skillet (non-stick or cast iron work best)
- Spatula for flipping
- Paper towel-lined plate for draining
Step-by-Step Instructions
Let’s break down this process into simple, manageable steps. You’ll have the best tuna patties on your table in no time!
1. Prepare the Tuna Mixture
First things first, drain your tuna really well. I like to press it in the can with the lid to get out as much moisture as possible. Then transfer to a medium bowl and flake it with a fork until no large chunks remain.
Add the breadcrumbs, beaten eggs, mayonnaise, diced bell pepper, celery, parsley, red onion, Dijon mustard, lemon zest, lemon juice, salt, and pepper to the bowl with the tuna.
Using clean hands or a fork, gently mix everything together until well combined. The mixture should hold together when pressed but still feel somewhat loose. If it seems too wet, add a tablespoon or two more breadcrumbs. Too dry? Add a touch more mayo.
Let the mixture sit for about 5 minutes—this gives the breadcrumbs time to absorb some moisture and helps the patties hold together better.
2. Form the Patties
With slightly damp hands (this prevents sticking), divide the mixture into 8 equal portions. Gently shape each portion into a patty about 1/2-inch thick. Don’t pack them too tightly—a lighter touch makes for more tender tuna patties.
If you have time, place the formed patties on a plate and refrigerate for 15-20 minutes. This step is optional but helps them hold together better during cooking.
3. Cook to Golden Perfection
Heat 2 tablespoons of olive oil in a large skillet over medium heat until shimmering but not smoking. Working in batches if necessary (don’t crowd the pan!), carefully place the patties in the hot oil.
Cook until the bottoms are golden brown and crispy, about 3-4 minutes. Using a thin spatula, gently flip each patty and cook the other side until equally golden and the patties are heated through, another 3-4 minutes.
If cooking in batches, add the remaining tablespoon of oil as needed for subsequent batches.
Transfer the cooked tuna patties to a paper towel-lined plate to absorb any excess oil.
4. Serve and Enjoy
Serve these beauties while they’re hot! I like to add a squeeze of fresh lemon juice right before serving to brighten everything up. Pair with your favorite dipping sauce—tartar sauce is classic, but a spicy sriracha mayo is my personal favorite.
Tips for Perfect Tuna Patties Every Time
After making hundreds of tuna patties over the years, I’ve learned a few tricks that make all the difference:
Moisture Management
The secret to the best tuna patties is controlling moisture. Too wet, and they fall apart; too dry, and they’re bland and crumbly. Make sure to:
- Drain the tuna thoroughly—really press out that water!
- Finely dice the vegetables to distribute moisture evenly
- Let the mixture rest briefly before forming patties
- If the mixture seems too wet, add breadcrumbs gradually until it just holds together
Cooking Perfection
- Use medium heat—too high and the outside burns before the inside cooks; too low and they don’t develop that irresistible crust
- Don’t overcrowd the pan—leaving space between patties allows them to crisp properly
- Resist the urge to flip too early—wait for that golden crust to form
- Use a thin, flexible spatula for easier flipping
- Keep the first batch warm in a 200°F oven while cooking the rest
Flavor Boosters
Want to elevate your tuna patties from good to absolutely crave-worthy? Try these flavor enhancers:
- Add a pinch of smoked paprika for subtle smokiness
- Include a dash of Worcestershire sauce for umami depth
- Mix in a minced garlic clove or 1/4 teaspoon garlic powder
- Incorporate fresh herbs like dill or chives along with the parsley
- Add a tablespoon of capers for briny pops of flavor
Healthy Tuna Patties Variations
One of the things I love most about this recipe is how adaptable it is. Here are some of my favorite variations for when you want to switch things up:
Gluten-Free Tuna Patties
Simply substitute the regular breadcrumbs with gluten-free breadcrumbs, crushed gluten-free crackers, or even cooked quinoa. The patties may be slightly more delicate, so handle with care when flipping.
Mediterranean Style
Transform these into Mediterranean-inspired tuna patties by adding:
- 1/4 cup crumbled feta cheese
- 2 tablespoons chopped Kalamata olives
- 1 teaspoon dried oregano
- 1 tablespoon minced sun-dried tomatoes
Asian-Inspired Twist
For an Eastern flavor profile, try:
- Substituting the parsley with cilantro
- Adding 1 teaspoon grated ginger
- Including 1 tablespoon soy sauce (reduce other salt)
- Mixing in 1 teaspoon sesame oil
- Serving with a soy-ginger dipping sauce
Low-Carb Version
For a keto-friendly or low-carb option:
- Replace breadcrumbs with almond flour or crushed pork rinds
- Add an extra egg to help binding
- Increase the vegetables for bulk and nutrition
Serving Suggestions
Tuna patties are wonderfully versatile! Here are my favorite ways to serve them:
Classic Dinner Plate
Serve 2-3 tuna patties alongside:
- Roasted vegetables or a simple green salad
- Steamed rice or quinoa
- Lemon wedges and tartar sauce
Tuna Patty Sandwiches
Place a patty (or two!) on a toasted bun with:
- Lettuce, tomato, and red onion
- Avocado slices
- Your favorite sauce (tartar, aioli, or even just mayo)
Breakfast or Brunch
For a protein-packed start to your day:
- Top with a fried or poached egg
- Serve with sliced avocado and hot sauce
- Add a side of fresh fruit
Light Lunch
For a lighter option:
- Place atop a generous green salad with lemon vinaigrette
- Serve with a cup of tomato soup
- Wrap in lettuce leaves with cucumber and carrots for a low-carb option
Make-Ahead and Storage Tips
Tuna patties are perfect for meal prep! Here’s how to make them work for your schedule:
Make-Ahead Options
- Mixture Only: Prepare the tuna mixture up to 24 hours ahead and store in an airtight container in the refrigerator. Form into patties just before cooking.
- Formed Patties: Shape the patties, place on a parchment-lined tray, cover with plastic wrap, and refrigerate for up to 24 hours before cooking.
- Fully Cooked: Make a big batch, cool completely, and refrigerate for quick meals throughout the week.
Storage Guidelines
- Refrigerator: Store cooked tuna patties in an airtight container for up to 3 days.
- Freezer: Place cooled patties in a single layer on a baking sheet and freeze until solid (about 2 hours). Transfer to a freezer bag or container with parchment between layers and freeze for up to 3 months.
Reheating Instructions
- From Refrigerated: Reheat in a 350°F oven for 10 minutes, or in a skillet over medium-low heat until warmed through.
- From Frozen: Thaw overnight in the refrigerator, then reheat as above, or reheat from frozen in a 350°F oven for 15-20 minutes until heated through.
Troubleshooting Common Issues
Even the most experienced cooks sometimes run into challenges. Here’s how to fix common tuna patty problems:
Patties Fall Apart When Cooking
This usually means there’s too much moisture or not enough binding. Try:
- Adding an extra tablespoon or two of breadcrumbs
- Letting the mixture rest longer to absorb moisture
- Chilling the formed patties for 20 minutes before cooking
- Making sure your pan and oil are hot enough before adding patties
Patties Are Too Dry
If your tuna patties seem dry or crumbly, you might need more moisture:
- Add an extra tablespoon of mayonnaise
- Include a bit more lemon juice
- Make sure you’re not overworking the mixture when forming patties
Not Enough Flavor
Easy fixes for bland patties:
- Increase the salt and pepper
- Add more herbs or try different ones
- Include a dash of hot sauce or Worcestershire sauce
- Make sure you’re using enough Dijon mustard for tang
Why These Are the Best Tuna Patties
What makes this recipe stand out from others? It’s all in the details:
- Perfect Texture Balance: The combination of tuna, vegetables, and breadcrumbs creates patties that are crispy outside and tender inside
- Bright Flavor Profile: Fresh herbs, lemon zest, and Dijon mustard elevate the flavor beyond basic tuna cakes
- Reliable Results: This recipe is tested and refined to work every time
- Versatility: Easily customizable to your taste preferences and dietary needs
- Family-Friendly: Appealing to both adults and children
I’ve tried countless tuna patties recipes over the years, but I keep coming back to this version because it delivers consistently delicious results with minimal effort.
Frequently Asked Questions
Q: Can I use tuna packed in oil instead of water?
A: Yes! Tuna in oil will add more richness. Just drain it well and reduce the mayonnaise by 1 tablespoon to account for the extra fat.
Q: What can I substitute for mayonnaise?
A: Greek yogurt works well as a healthier alternative, though the patties may be slightly less rich. You can also use mashed avocado for a dairy-free option.
Q: Can I bake these tuna patties instead of frying?
A: Absolutely! Place them on a parchment-lined baking sheet, spray or brush with a little oil, and bake at 400°F for about 10 minutes per side until golden and heated through.
Q: Are tuna patties healthy?
A: Yes, these tuna patties are quite healthy! They’re high in protein, relatively low in calories, and provide omega-3 fatty acids from the tuna. You can make them even healthier by using whole wheat breadcrumbs and reducing the mayonnaise.
Q: My kids don’t like seeing “chunks” of vegetables. Any suggestions?
A: Try finely mincing the vegetables in a food processor or even grating them on the small holes of a box grater. They’ll incorporate more seamlessly while still adding flavor and nutrition.
Q: Can I use canned salmon instead of tuna?
A: Definitely! Canned salmon works beautifully in this recipe as a 1:1 substitution. It makes excellent salmon patties with the same technique.
Q: How do I keep my hands from getting sticky when forming the patties?
A: Lightly wet your hands with water or a touch of oil before shaping each patty. This prevents sticking and makes the process much cleaner.
Let’s Chat Tuna Patties!
There you have it—my go-to tuna patties recipe that’s saved dinner countless times in my household. I’d love to hear how these turn out for you! Did you try any of the variations? Do you have your own special twist on tuna patties? Drop a comment below and share your experience.
If you enjoyed this recipe, consider saving it for later or sharing it with friends who could use a simple, delicious dinner idea. And if you snap a photo of your beautiful golden tuna patties, tag me on social media—I absolutely love seeing your kitchen successes!
Until next time, happy cooking!
Hungry for more? Check out our top rated recipes :